
Your First Blackstone Cook: Complete New Owner Guide
You got the griddle home. It’s in a box on the patio, and somewhere between that box and your first plate of smash burgers there’s a sequence nobody quite explains in order: assembly, some kind of washing, seasoning, and a vague sense that you can ruin it in the first hour if you do it wrong.
Good news: you can’t really ruin it, and the whole sequence takes about two hours of mostly waiting. Three of these have come out of boxes in my garage (a 36” Original, an Adventure Ready 22”, and a 17” E-Series) and the order below is what I’d tell a friend unboxing their first one. Each step links to the full guide if you want to go deeper; follow this page for the sequence, follow those for the technique.
Before You Start: Have These Ready
Nothing derails day one like discovering you’re missing something mid-process:
- A high smoke point oil: avocado, canola, or grapeseed (or Blackstone’s conditioner). You’ll use more than you expect.
- Paper towels: a full roll, minimum. Seasoning eats them.
- Tongs: for holding oiled towels against a 400°F surface without donating your fingerprints.
- A metal scraper and spatula: the scraper is not optional; it’s the tool the whole cleaning routine is built around.
- A full propane tank: the griddle doesn’t come with one.
- Dish soap: yes, really. See step 2.
Set aside about two hours, most of it hands-off. Do it on a day with no wind if you can.
Step 1: Assembly
Budget 30-45 minutes for a cart model; tabletop units are essentially ready out of the box. It’s straightforward hardware, but three mistakes are worth avoiding because they’re annoying to undo later:
- Check the leg orientation before tightening anything. The most common assembly complaint is getting legs on backwards and discovering it when the griddle sits crooked or the shelf won’t mount.
- Note which way the grease system drains. Rear-drain and front-drain models exist, and the chute has to be seated correctly for grease to reach the cup. Get this wrong and you’ll find out during your first bacon cook, on the ground. (Full details in grease problems.)
- Level it where it will actually live. Patios slope for drainage. Adjust the leg levelers or shim the low side now, while the griddle is empty and light.
Don’t discard the box until it’s cooking. If a part is missing or damaged, Blackstone’s customer service ships replacements, much easier with the model number in hand.
Step 2: Wash It, The One Time Soap Is Correct
Everywhere else on this site you’ll read never use soap on your griddle. This is the exception, and it comes straight from Blackstone: wash a brand-new griddle top with hot, soapy water before you season it. New tops carry dust, packing residue, and a light protective coating from manufacturing and shipping, and you don’t want any of that polymerized into your seasoning.
Pour soapy water across the cold surface, wipe it down, rinse thoroughly with clean water, and dry it completely with paper towels. Bare steel with water sitting on it will start showing rust surprisingly fast, so don’t walk away wet.
This is the last time soap touches the surface. From here on, cleaning is heat, a scraper, water, and oil, the routine in the cleaning guide.
Step 3: Connect the Propane (Slowly)
Attach the regulator to the tank hand-tight. No wrench needed, and over-tightening can damage the fitting. Then the habit that matters more than any other on this page:
Open the tank valve slowly. A quarter to half turn is plenty.
Blackstone regulators have a flow-limiting safety device that trips when it senses a sudden rush of gas, which is exactly what opening the valve fast looks like. Once tripped, it restricts propane to a trickle and your burners will never make real heat. This is the single most common Blackstone complaint there is, and it’s entirely preventable by turning the valve slowly, every time. (If it ever does happen: the two-minute reset.)
While you’re here, check the connection: with the valve open and burners off, a soapy-water spray on the fitting shouldn’t produce bubbles. The safety guide covers this properly.
Step 4: The Burn-Off
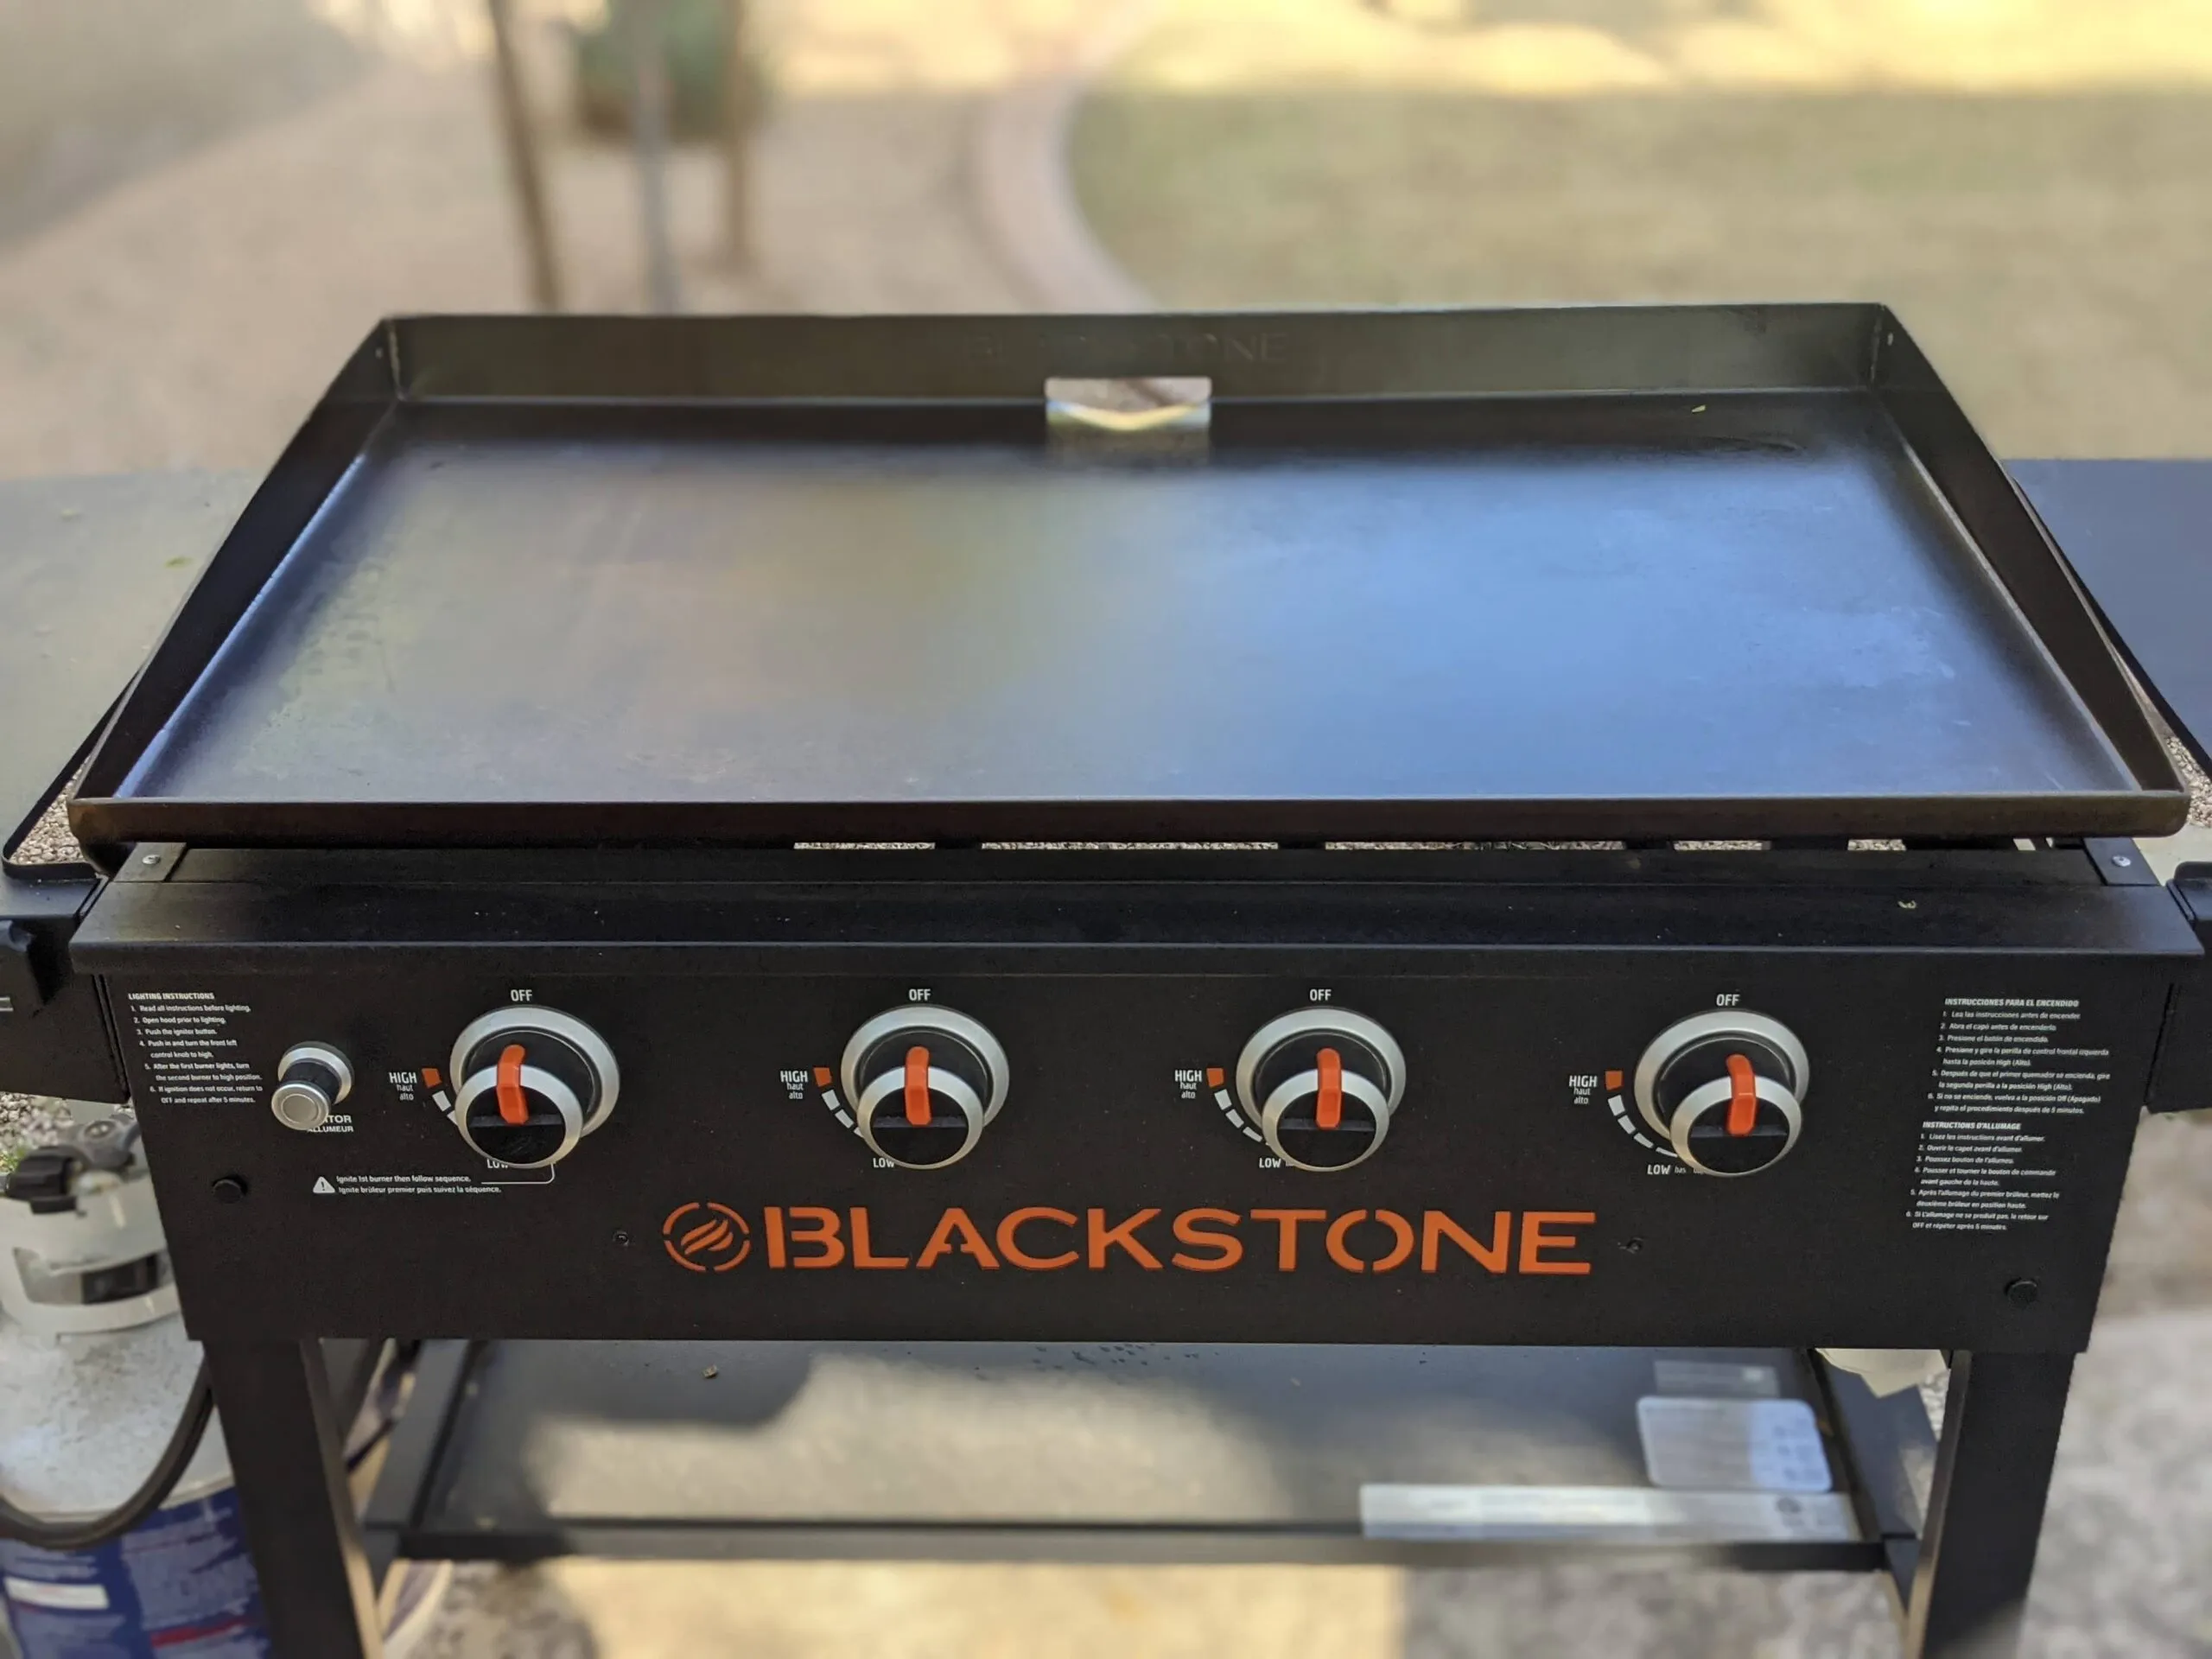
Light the burners, turn everything to high, and let the empty griddle run 10-15 minutes. You’ll watch the surface change color: the raw silver steel darkens to a tan or brown as the last manufacturing residue cooks off. Some smoke and an odd smell during this first burn are normal and go away.
When the color has changed, turn the burners off and let it cool enough to work with. You’re now looking at clean, bare, hot steel, the blank canvas.
Step 5: Season It
This is the step that makes the surface nonstick, and it’s the one worth doing carefully. The short version: thin coats of oil, each heated until it stops smoking, repeated until the surface is dark brown-black. Blackstone’s own instruction is to repeat until the top is dark; in practice that’s usually 3-4 coats.
The entire game is thin. Each coat should look like the steel is barely damp, not wet, no pools. Too much oil in a single pass is what creates a sticky, gummy surface that never hardens, and it’s the number one first-timer mistake.
Full procedure, oil comparison, and timing: How to Season a Blackstone Griddle.
Step 6: What to Cook First
Cook bacon. Then smash burgers.
This isn’t sentimentality. It’s strategy. Your seasoning on day one is thin and new, and fatty foods actively improve it. Every batch of bacon renders fat across the surface and deposits another micro-layer of seasoning while you’re just… making breakfast. Smash burgers do the same thing with beef fat, and both are extremely forgiving of a new cook still learning where their griddle runs hot.
What not to cook on day one: eggs, fish, and anything lean or delicate. They’re the stickiest foods there are and they’ll stick to a fresh surface no matter how well you seasoned it, which feels like failure when it’s just physics. Give the surface a couple of fatty cooks first, then eggs behave.
Where to go next: Blackstone Recipes for Beginners is built for exactly this week, and the temperature guide has the target temp for everything.
Step 7: The First Cleanup
Do this while the griddle is still warm. It takes about five minutes and it’s the habit that determines whether your griddle is a joy or a chore in six months:
- Scrape everything to the grease trap.
- Steam: squirt a little water on the warm surface and scrape again.
- Wipe with paper towels until they come back mostly clean.
- Oil: a thin coat across the whole surface, edges included.
That’s it. No soap, no scrubbing, no dish brush. The cleaning guide has the deep-clean version for later.
Week One: What’s Normal (and What Isn’t)
New owners worry about all the same things, and almost all of them are fine:
- The surface is brown, not black. Normal. Seasoning darkens over dozens of cooks. It’ll get there.
- The color is patchy and uneven. Very normal, especially near the burners. It evens out with use. Cooking fatty foods across the pale areas speeds it up.
- It’s not as nonstick as you expected. Also normal. A griddle gets slicker every month for the first several months. A well-used griddle beats a babied one, every time.
- A little rust appeared overnight. It happens on bare steel in humid air: scrape it, re-oil it, and don’t skip the after-cook oil coat again. (Rust removal.)
- Food is sticking badly. Usually heat or timing rather than seasoning. Diagnose it here before you strip anything.
If something genuinely seems wrong, the troubleshooting guide indexes every common problem by symptom.
What You Actually Need vs. What Can Wait
New owners tend to buy an accessory kit with fourteen items, then use four of them. Honestly:
Get now: a sturdy metal scraper, two spatulas (two hands moves food faster than one), squeeze bottles for oil and water, and a fitted cover if the griddle lives outside.
Get soon: an infrared thermometer. Knob position tells you almost nothing about actual surface temperature, and measuring instead of guessing fixes more cooking problems than any other purchase.
Can wait: a basting dome (worth it once you’re melting cheese and steaming), a burger press, and everything else. Buy them when a specific recipe makes you want one.
The must-have accessories guide has the full honest breakdown.
Related: How to Season a Blackstone · How to Clean a Blackstone · Recipes for Beginners · Troubleshooting Guide
Frequently Asked Questions
Do you have to season a brand new Blackstone griddle?
Yes. New griddles arrive with bare or minimally coated steel that will rust and stick without seasoning. Wash it with soapy water, burn it off for 10-15 minutes, then apply 3-4 thin coats of high smoke point oil, letting each one smoke until it stops.
Can you use soap on a new Blackstone griddle?
Only once, before the first seasoning. Blackstone specifically instructs washing a brand-new griddle top with hot, soapy water to remove manufacturing and shipping residue. After that first wash, never use soap again; it strips the seasoning you’re building.
What should I cook first on a new Blackstone?
Bacon, then smash burgers. Fatty foods render fat across the surface and reinforce fresh seasoning while you cook, and both are forgiving of a new surface. Save eggs, fish, and other lean or delicate foods for after a few fatty cooks.
Why is my new Blackstone griddle brown instead of black?
Because it’s new. Seasoning darkens gradually over many cooks. A brown or patchy surface after the first seasoning is completely normal and not a mistake. It evens out and darkens with use, especially if you cook fatty foods across the lighter areas.
How long does it take to set up a new Blackstone griddle?
About two hours total, most of it waiting: 30-45 minutes of assembly, a few minutes to wash and dry, 10-15 minutes of burn-off, and 45-60 minutes for 3-4 seasoning coats. You can cook the same day.
Do I need to burn off a new griddle before seasoning it?
Yes, run the empty griddle on high for 10-15 minutes after washing. The surface darkens as the last manufacturing residue cooks off, and starting from clean, hot, bare steel is what lets the first seasoning coat bond properly.
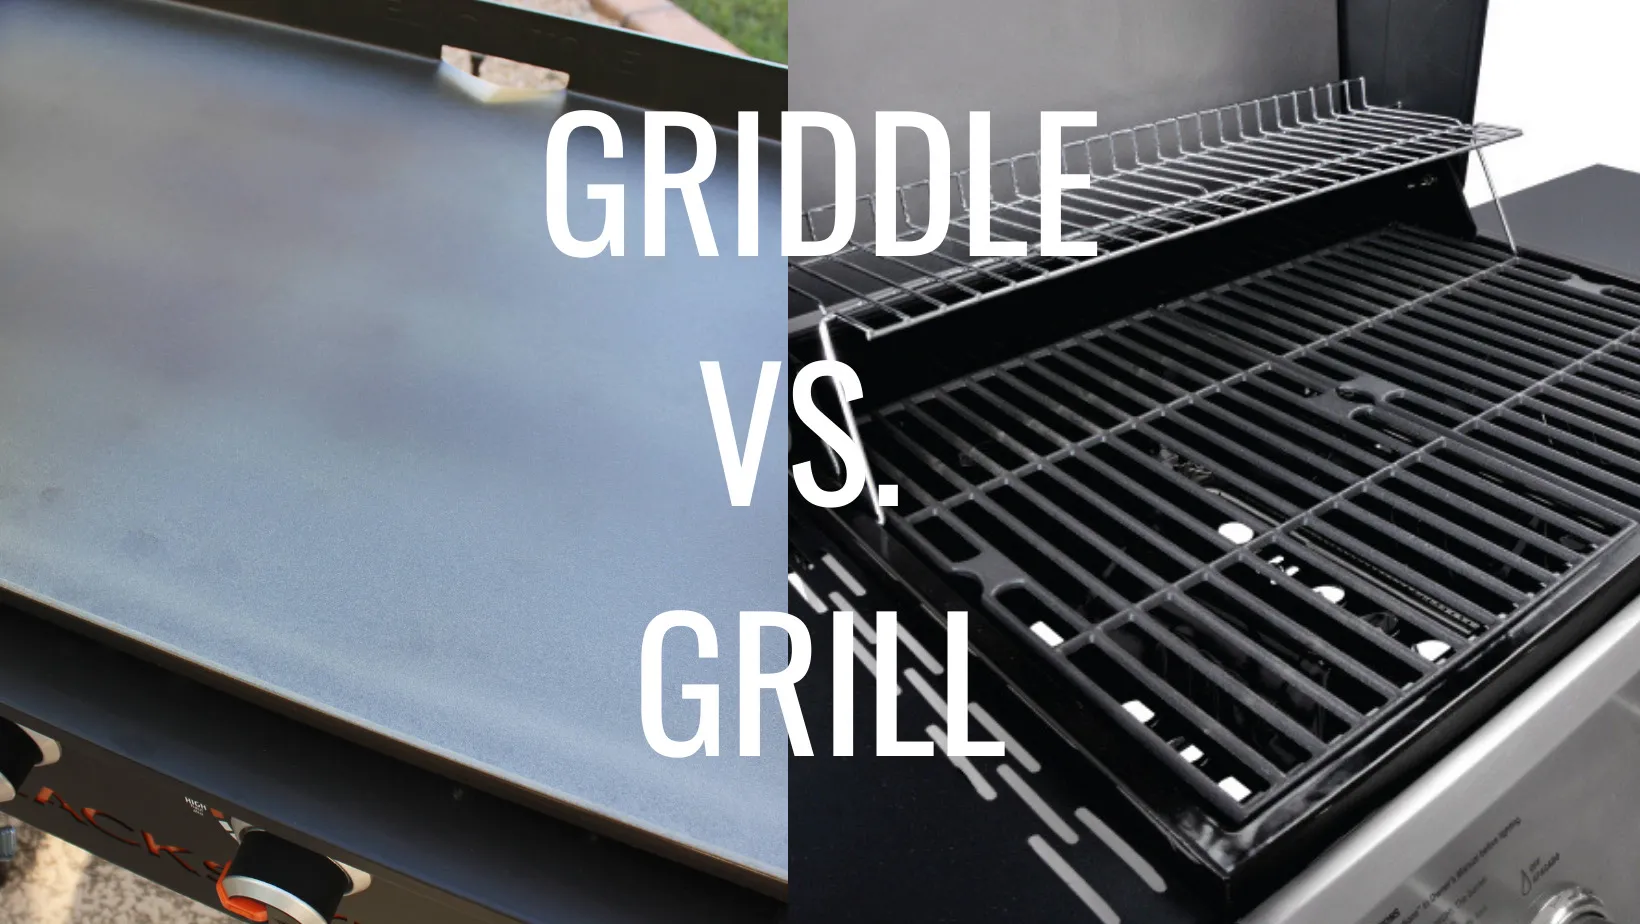
Griddle vs Grill: Which Should You Get?
Griddle vs grill: the real differences, which is healthier, whether a griddle is worth it if you already own a grill, and which wins for steaks and burgers.
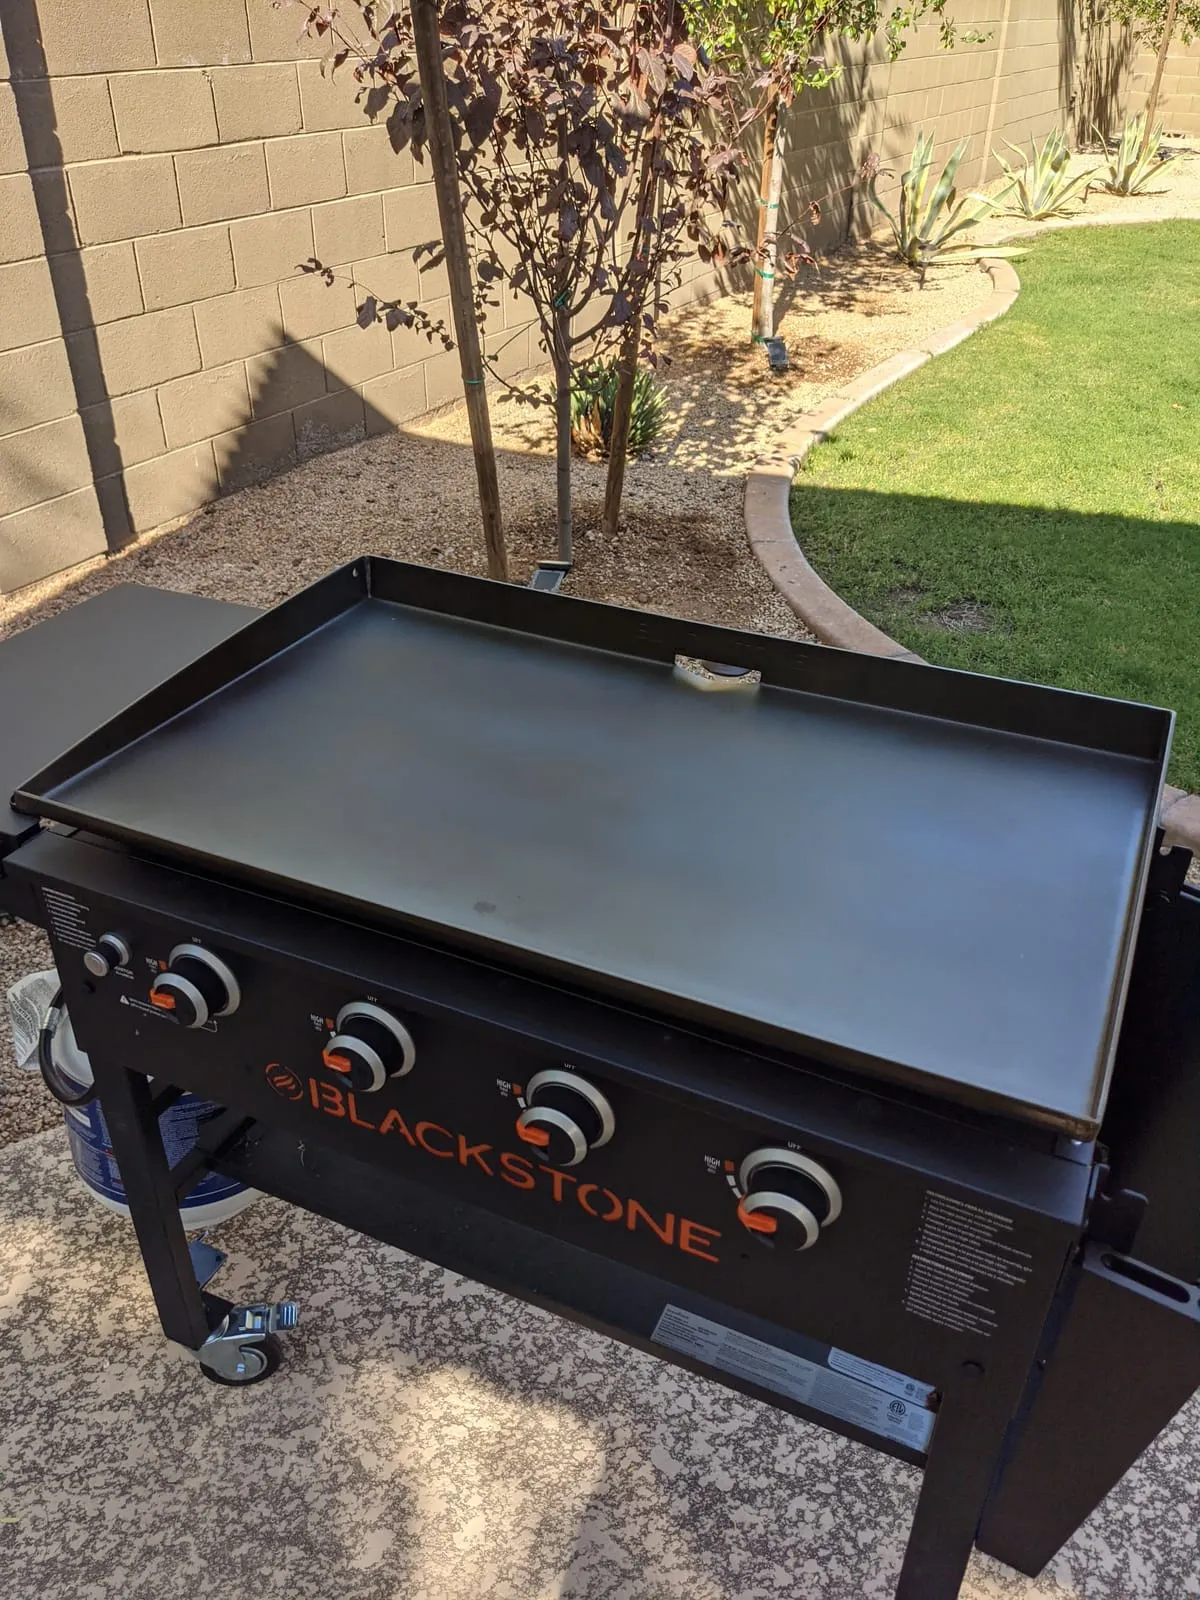
Why Is Everyone Selling Their Blackstone? An Honest Answer
Why is everyone selling their Blackstone? Mostly, they aren't. Here's the honest story, plus the real cons, lifespan, the Walmart price, and if it's worth it.
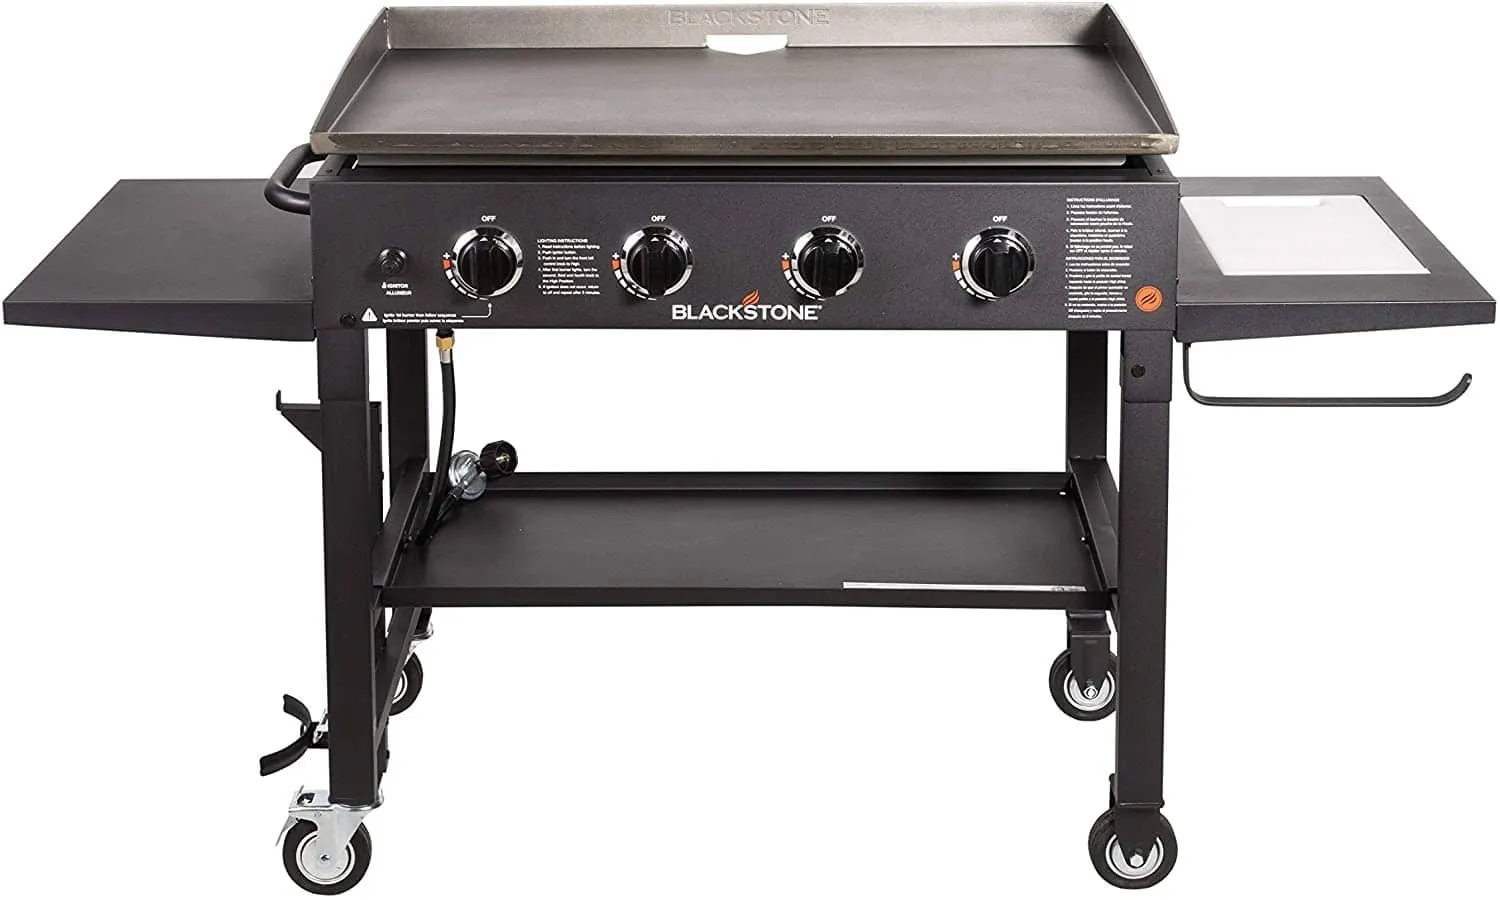
Blackstone Flame Problems: Yellow, Uneven, and Blowing Out
Yellow or orange flames, uneven burners, flames that blow out or pop: what each flame problem means on a Blackstone griddle and how to fix it safely.