
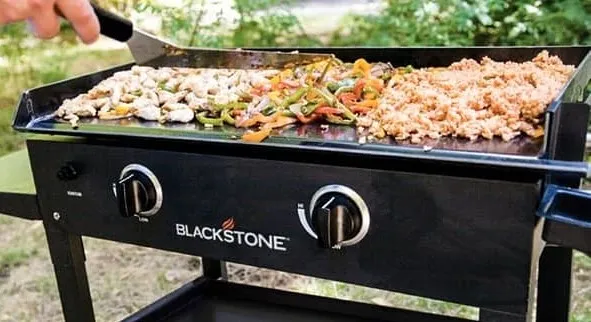
Blackstone Griddle Tips: 50 That Actually Make a Difference
What changed: Expanded from 15 to 50 tips, grouped by setup, heat, oil, technique, cleanup, and storage.
Most bad griddle cooks come down to the same few things: the surface wasn’t hot enough, there was too much oil on it, the food got moved before it was ready, or too much went down at once.
I cook on three Blackstones (a 36” at home, a 22” that goes camping, and a 17” electric indoors), and this page collects the habits that make the biggest difference on a flat top. They’re grouped by what you’re doing, so jump to the part you need. Where a tip has a full guide behind it, the link goes there.
If you only read five:
- Preheat for real and check the surface with an infrared thermometer, not the knobs (tips 7 and 8).
- Run at least two heat zones so you always have somewhere hotter and somewhere cooler (tip 10).
- Use less oil than you think, and put it down right before the food (tips 16 and 17).
- Don’t crowd the surface, and don’t move food until it lets go on its own (tips 23 and 20).
- Scrape while it’s warm, finish with a thin coat of oil, and keep it covered (tips 41, 43, and 47).
Before You Light It
1. Level the griddle
A griddle that leans the wrong way sends grease toward the front edge instead of the drain, and an uneven surface can make a flat top look warped when it isn’t. Set a small level on the cooktop and shim the legs until it sits dead level side to side, with a very slight tilt toward the grease drain. The grease problems guide covers leveling in detail.
2. Open the propane valve slowly
Open the tank valve slowly, about a half turn. Cranking it open fast can trip the regulator’s safety device, which cuts the gas to a trickle and leaves you with weak, lazy flames even with a full tank. If that’s already happened, the regulator reset takes about two minutes.
3. Leak-check every new connection
Any time you connect a new tank, regulator, or hose, brush soapy water over the fittings before lighting. Bubbles mean a leak. Never hunt for a leak with a flame. The outdoor griddle safety guide walks through it.
4. Keep the side shelves clear of anything that melts
The side shelves pick up heat from the cooktop. Plastic containers, cutting boards, and anything that needs to stay cold belong on a separate table, not right next to the steel.
5. Prep everything before the burners go on
Griddle cooking moves fast. Once the surface is hot, things happen in minutes, and there’s no pause button while you go chop an onion or mix a sauce. Have every ingredient cut, every sauce mixed, and every tool within reach first. A sheet pan is the easiest way to carry it all out in one trip.
6. Plan where finished food goes
Have sheet pans or baking dishes ready to hold finished food, plus a spot on the griddle that runs cooler (see tip 12). Otherwise the first batch ends up parked on a hot zone while you go looking for a plate.
Heat and Temperature
7. Preheat for real
Give the steel about 10 minutes to come up to temperature before food goes on, longer in wind or cold weather. Food that hits a half-heated surface cooks unevenly and sticks. One caution from Blackstone: don’t preheat a griddle to its maximum and then dump a big load of cold or frozen food on it. That sudden temperature swing is the kind of shock that can bend thin steel.
8. Trust an infrared thermometer, not the knobs
Knob position tells you almost nothing about what the steel is actually doing; wind, outside temperature, and how long it’s been on all change it. An infrared thermometer gives you a surface reading in a second, which is why every temperature on this site is a reading from one. It only reads the surface, though, so you still need an instant-read thermometer for the inside of the food. The temperature guide has target temps for just about everything.
9. Learn your griddle’s hot and cool spots
The steel right over each burner runs hotter than the edges and corners, and the back edge holds heat even with a burner off. Point the infrared thermometer across the whole surface once and you’ll know where to sear and where to park food. The heat zone guide maps it out burner by burner.
10. Run at least two heat zones
Every Blackstone with more than one burner can run different temperatures side by side. Keep one side hot for searing and another lower for eggs, vegetables, or anything that burns easily. You get a complete meal at once, and you always have somewhere to move food that’s going too fast.
11. Plan the whole cook, not just one dish
When several things cook at once, the longest cook starts first and the fastest goes on last, so everything finishes together. Hash browns before bacon, bacon before eggs. My cook planner does the zone layout and start times for you: pick the dishes and your burner count.
12. Keep a warm zone
Set one burner to its lowest setting and the far edge of that zone stays warm enough to hold finished food without cooking it further. It’s the easiest way to get everything to the table hot at the same time.
13. Block the wind
Wind pulls heat off the surface and can blow burners out, especially on low. Turn the griddle so the burner intakes face away from the wind, or fit wind guards. If it runs weak even on a calm day, that’s a gas supply problem, and the low flame guide covers it.
14. Don’t sear on a cold zone because it’s empty
When the hot side fills up, it’s tempting to put the next steak on the open medium zone. It’ll steam instead of sear. Wait for space on the hot side, or cook in two rounds.
15. Turn the heat down before you think you need to
Steel holds heat, so a surface that’s running too hot takes a few minutes to come down after you turn the knob. Lower it as you finish the high-heat part of a cook, before the eggs go on.
Oil and Sticking
16. Use less oil than you think
A thin sheen across the surface is what you want, not a puddle. Too much oil makes food fry and steam instead of sear, throws off smoke, and runs into the grease channel. A squeeze bottle or a folded paper towel held in tongs gives you control.
17. Oil right before the food goes down
Oil that sits on a hot griddle while you finish prepping starts breaking down before it does anything useful. Put it down just before the food, or toss the food itself in a little oil.
18. Match the oil to the heat
For high heat, use an oil with a high smoke point: avocado oil smokes at about 500-520°F, canola and vegetable oil at about 400-450°F. Butter burns at high heat but tastes great on lower-heat cooks like eggs and pancakes, and a little oil mixed in with it helps. Extra virgin olive oil is for finishing, not searing. The best oil guide has the full comparison.
19. Keep two squeeze bottles at the griddle
One for oil, one for water. The oil bottle puts down exactly as much as you want. The water bottle makes steam under a dome, loosens stuck bits between batches, and calms down a zone that’s running too hot, in small squirts (see tip 42).
20. Let food release on its own
Food sticks when it first hits hot steel, then lets go once a crust forms. If you try to flip before that, you tear it and leave the crust behind, so if it’s still sticking, give it another minute.
21. Pat proteins dry
Moisture on the surface of meat or fish has to steam off before browning can start. Pat everything dry with paper towels right before it goes on, especially anything that was marinated or brined.
22. Oil the fish, not the griddle
Delicate fish sticks less when the oil is on the fillet. Brush the fish, lay it down on a clean, hot surface, and leave it alone until it releases. If food keeps sticking no matter what you do, why food sticks to your Blackstone works through all five causes.
Cooking Technique
23. Don’t crowd the surface
Too much food at once drops the surface temperature and releases more moisture than the steel can drive off, so everything steams and turns gray. Leave room around each piece so it touches hot steel, and cook in batches if you need to.
24. Smash burgers early, smash once
Smash the ball within about 10 seconds of it hitting the griddle, before the outside starts to set, and press hard for 10-15 seconds. Pressing again after it’s browning just squeezes out juice. The smash burger recipe has the full method.
25. Use a dome to melt and steam
A basting dome traps steam over the food. Squirt a little water next to a burger, cover it, and the cheese melts in under a minute. The same trick finishes thicker food through without burning the outside. It’s on the short list of accessories worth owning.
26. Sear vegetables, then steam them under the dome
Dense vegetables like broccoli, green beans, and Brussels sprouts get the best of both: sear the flat faces on hot steel, then add a splash of water and cover so the centers finish without going mushy. The broccoli and green beans recipes use exactly this.
27. Work with two spatulas
Two spatulas let you toss fried rice, chop a cheesesteak, flip a whole row of food, and scoop small things like diced vegetables off the griddle in one move. Most of the stir-fry recipes on this site, like chicken fried rice, assume you have a pair. The spatula guide covers what to look for.
28. Salt thick cuts well ahead, or right as they go on
Salt draws moisture to the surface of meat. Salt a thick steak about 45 minutes ahead and that moisture has time to reabsorb, seasoning the meat through. Salting a few minutes before cooking leaves wet meat that won’t brown. Smash burgers get salted right after smashing, and vegetables after they cook. The steak recipe explains the timing.
29. Sear thick cuts hot, then finish lower
A thick steak or pork chop seared hard the whole way burns outside before the center is done. Sear on the hottest zone, then slide it to a medium zone (around 350°F) to finish. A dome over it speeds that up.
30. Add sugary sauces at the end
Barbecue sauce, teriyaki, honey, and sweet-and-sour burn fast on hot steel. Blackstone’s advice is to add them near the end of cooking, and that’s how the glazed recipes here work too: a minute or two to caramelize, not a whole cook.
31. Clean up after acidic foods right away
Citrus, tomato, and vinegar can eat into seasoning if they sit on the steel. Blackstone recommends cleaning with plenty of water afterward and wiping on a little oil. Squeeze the lime on your fajitas anyway; just don’t leave the residue sitting there.
32. Use a skillet for anything liquid
A griddle can’t hold liquid, but a cast iron skillet sitting on the griddle can. Gravies, sauces, and anything that simmers go in the skillet right next to the rest of the food. The biscuits and gravy recipe works this way.
33. Cook eggs last, on a cooled zone
Eggs want 300-325°F, lower than almost everything else at breakfast. Instead of fighting to hold one zone that low from the start, let a zone drift down after the sausage and hash browns come off, then crack the eggs.
34. Toast the buns and bread on the griddle
Buns go cut-side down on a buttered zone for 30-60 seconds while the burgers rest. It takes no extra equipment, and a toasted bun holds up to juicy fillings much better.
35. Pull food before it looks done
Food keeps cooking for a few minutes after it comes off, so pull it a little under your target and let the rest carry it. For a medium-rare steak that means pulling around 125-130°F. Pork tenderloin comes off at 140°F and rests to 145°F. Chicken is the exception: pull it at 165°F, measured, not guessed. The temperature guide lists the safe internal temps.
36. Rest meat before you slice it
Cutting right away dumps the juices onto the board. Steaks rest 5-10 minutes (longer for very thick cuts) and pork chops about 5. Tent loosely with foil if you need to keep them warm.
37. Thaw food before it goes on
Large amounts of frozen food on a hot griddle cook unevenly, and dumping a big frozen load on a fully preheated top is exactly the kind of temperature shock Blackstone warns can warp the steel. Thaw meat first. Frozen fries are made to go straight on in a thin layer, but frozen shredded hash browns do better thawed (the hash browns recipe explains why).
38. Cooking for a crowd? Count the space
A 36” Blackstone has 756 square inches of cooking surface, which Blackstone says fits about 30 burgers or 70 hot dogs at once. In practice you’ll fit fewer, since you want room for heat zones and a holding area. Use sheet pans to hold finished food while the next round cooks. The tailgating recipes are built around this.
Cleanup
39. Scrape between batches
Burnt bits left on the steel flavor the next round of food. A few passes with a scraper after each batch, pushing everything toward the grease trap, takes ten seconds.
40. Manage grease while you cook
Push grease toward the drain as it builds up instead of letting it pool around the food. Check the grease cup before every cook and empty it when it’s more than half full. A single bacon-heavy breakfast can fill one, and an overflowing cup is how grease ends up on the burners and the patio. A liner makes emptying it a lot less messy. The grease guide covers overflow and grease fires.
41. Clean while it’s still warm
Turn the burners off, then scrape while the steel is still warm. Residue that cools hardens and fights you. Add a little water to loosen anything stuck, scrape again, and wipe with paper towels. The full routine is in the cleaning guide.
42. Never flood hot steel with cold water
Clean with small squirts of water on a warm surface. A lot of cold water poured onto very hot steel can warp the top, and Blackstone’s own guidance is to use only small amounts of water. The warped griddle guide explains what’s normal flex and what isn’t.
43. Finish every cook with a thin coat of oil
Once the surface is clean and dry, spread about a tablespoon of oil as thin as you can with paper towels and tongs. That thin coat is what keeps rust off between cooks and slowly builds up the seasoning.
44. Don’t let bacon residue sit
Bacon leaves sugary residue behind that burns onto the steel if it’s left there. Scrape and clean it with water soon after the bacon comes off, before it bakes on.
45. Skip soap for routine cleanup
A scraper, hot water, and paper towels clean a seasoned griddle without stripping the seasoning. Soap belongs to the first wash on a brand-new top, before you season it; the first cook guide covers that.
46. Use a scraper, not a wire brush, on the cooktop
Wire brush bristles can break off and end up in your food. A metal scraper pushes debris off without that risk and without digging into the seasoning. Save the heavy abrasives (a griddle stone or steel wool) for actual rust, which the rust removal guide covers.
Storage and Care
47. Cover it every time
Moisture is what rusts a griddle. Let it cool completely after the final oil coat, then cover it. Outdoors, a hard cover over the cooktop keeps rain off far better than fabric alone, and a soft cover over the whole unit protects the rest. The rust guide has more on storage.
48. Keep critters out
Cover the grease cup when the griddle sits, and check the burner tubes before the first cook after storage. Spiders like to build webs inside burner tubes, and a blocked tube shows up as a weak or yellow flame. The flame problems guide shows how to clear one.
49. Cook on it regularly
A griddle that gets cooked on and oiled every week holds its seasoning far better than one that sits for months. If it’s going to sit, clean it, oil it, cover it, and store it somewhere dry. The winter storage guide covers long breaks.
50. Know what it’s not for
A flat top is great at a lot of things and bad at a few: low-and-slow barbecue, big roasts, and anything that needs to sit in liquid. What not to cook on a Blackstone covers the list and what to use instead.
Gear Worth Having
You don’t need much. These are the things the tips above keep coming back to:
- Metal scraper: tips 39, 41, and 46. Scraper picks
- Two spatulas: tip 27. Spatula picks
- Infrared thermometer: tips 8 and 9.
- Instant-read thermometer: tip 35.
- Basting dome: tips 25, 26, and 29.
- Squeeze bottles for oil and water: tip 19.
- A cover: tip 47.
The must-have accessories list covers all of them, and what to skip.
Try these on the Blackstone: Smash Burgers · Blackstone Steak · Fried Rice · Chicken Fajitas
Something not working? The Blackstone troubleshooting guide diagnoses weak heat, flame problems, sticking, rust, and more in one place.
Shop Griddle Spatulas on Amazon Shop Infrared Thermometer on Amazon Shop Griddle Scraper on Amazon
Frequently Asked Questions
What are the most important Blackstone griddle tips for beginners?
Preheat the griddle properly and check the surface with an infrared thermometer, run at least two heat zones, use a thin layer of oil right before the food goes down, don’t crowd the surface, and let food release before flipping. After the cook, scrape while it’s warm, finish with a thin coat of oil, and keep it covered.
How do you prevent food from sticking to a Blackstone griddle?
A properly seasoned surface, a full preheat, and a thin layer of oil right before the food goes on. Then leave it alone: food releases once a crust forms, so if it’s sticking, it isn’t ready to flip. Pat proteins dry first, and for delicate fish, oil the fish instead of the griddle.
What temperature should a Blackstone griddle be for most cooking?
Most everyday cooking happens around 350-400°F: burgers, chicken, vegetables, and sausage. Eggs want 300-325°F, bacon 325-350°F, and pancakes 350-375°F. Smash burgers and fried rice go hotter, around 425-475°F. Check with an infrared thermometer, since the knobs don’t tell you the actual surface temperature.
How often should you oil a Blackstone griddle?
Twice per cook: a thin layer right before the food goes on, and a thin protective coat (about a tablespoon, spread as thin as you can) after cleaning. You don’t need much either time, just enough for a sheen.
How do you keep a Blackstone griddle from rusting?
Finish every cook with a thin coat of oil, let it cool, and keep it covered, ideally with a hard cover over the cooktop if it lives outside. Cook on it regularly, and store it somewhere dry for long breaks. If rust shows up, the rust removal guide covers it by severity.
Should you season your griddle before every cook?
No. Seasoning is built up over several heated coats when the griddle is new, then maintained by the thin coat of oil you apply after each cleanup. Before each cook you just need a thin layer of cooking oil.
How do you get a good sear on a Blackstone griddle?
A hot surface (400-450°F for thick steaks), dry meat, and patience. Pat the meat dry, put it on the hottest zone, and don’t move it until it releases on its own. Don’t crowd the surface, since too much food drops the temperature and steams instead of sears.
Why is my Blackstone griddle not getting hot enough?
The usual cause is the propane regulator’s safety device, tripped by opening the tank valve too fast. Turn everything off, disconnect the regulator, wait 60 seconds, reconnect, and open the valve slowly. After that, check for wind, low propane, a blocked burner tube, and a short preheat.
How do you clean a Blackstone griddle after cooking?
Turn off the burners and scrape while the steel is still warm, pushing debris into the grease trap. Add a small squirt of water to loosen anything stuck, scrape again, and wipe with paper towels. Once it’s clean and dry, spread a thin coat of oil. Skip soap for routine cleanup.
Can you use pots and pans on a Blackstone griddle?
Yes. A cast iron skillet sitting on the griddle handles anything liquid that the flat surface can’t hold, like gravy, sauces, or anything that needs to simmer, right next to the rest of the food.
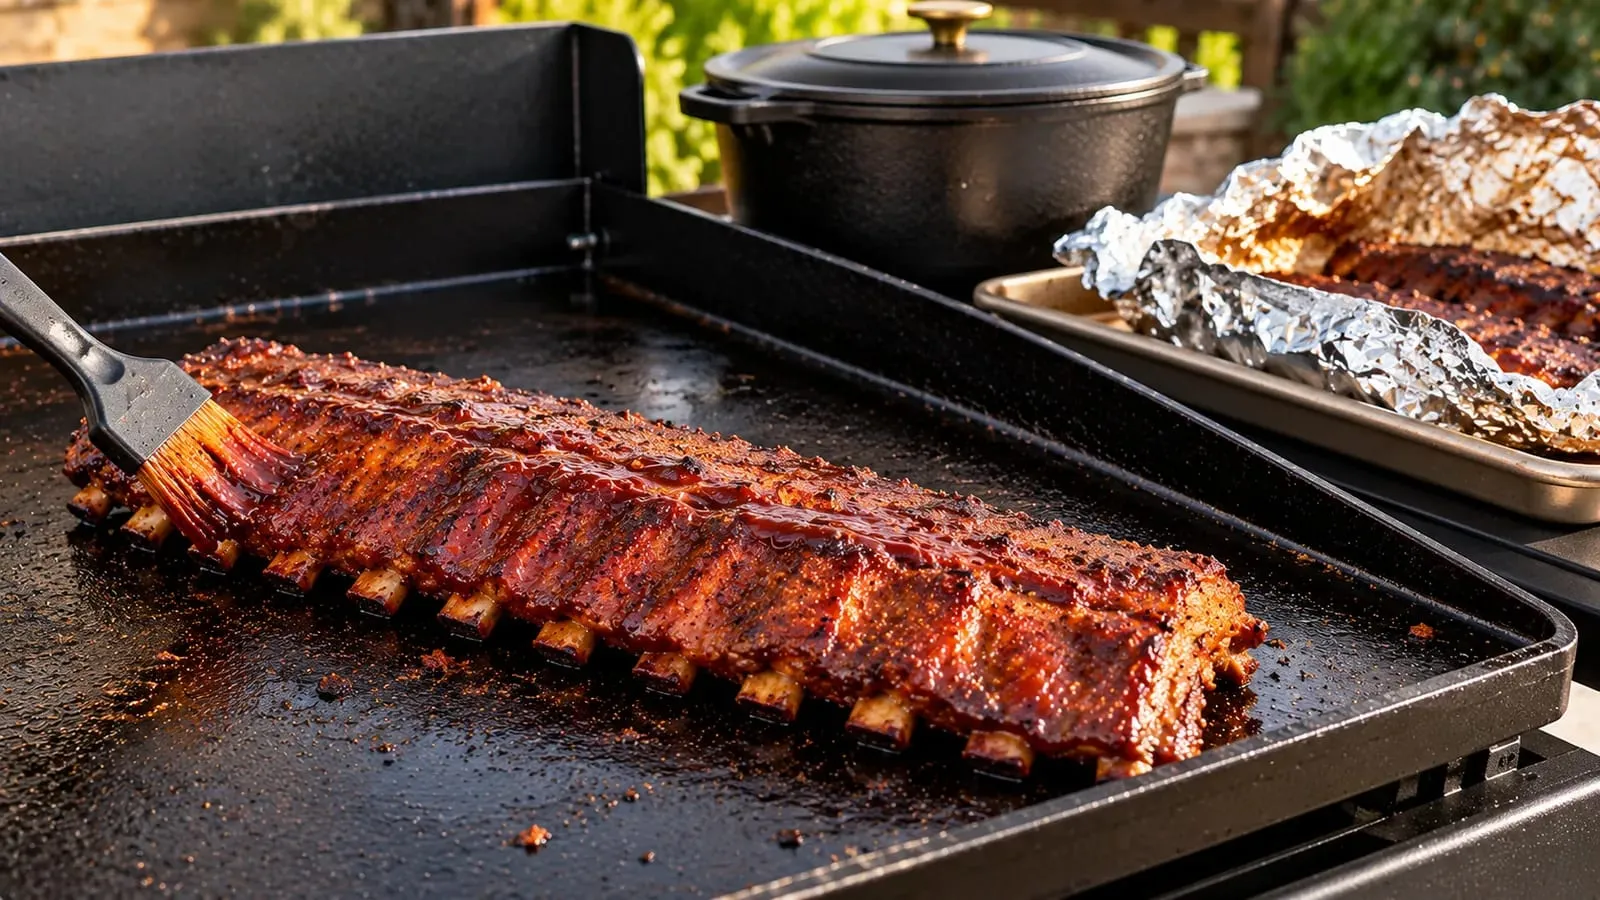
What Not to Cook on a Blackstone (and What to Do Instead)
What doesn't work on a Blackstone griddle: low-and-slow cuts, big roasts, anything that sits in liquid, and deep-fried food, plus how to split the cook so the griddle still does the part it's good at.
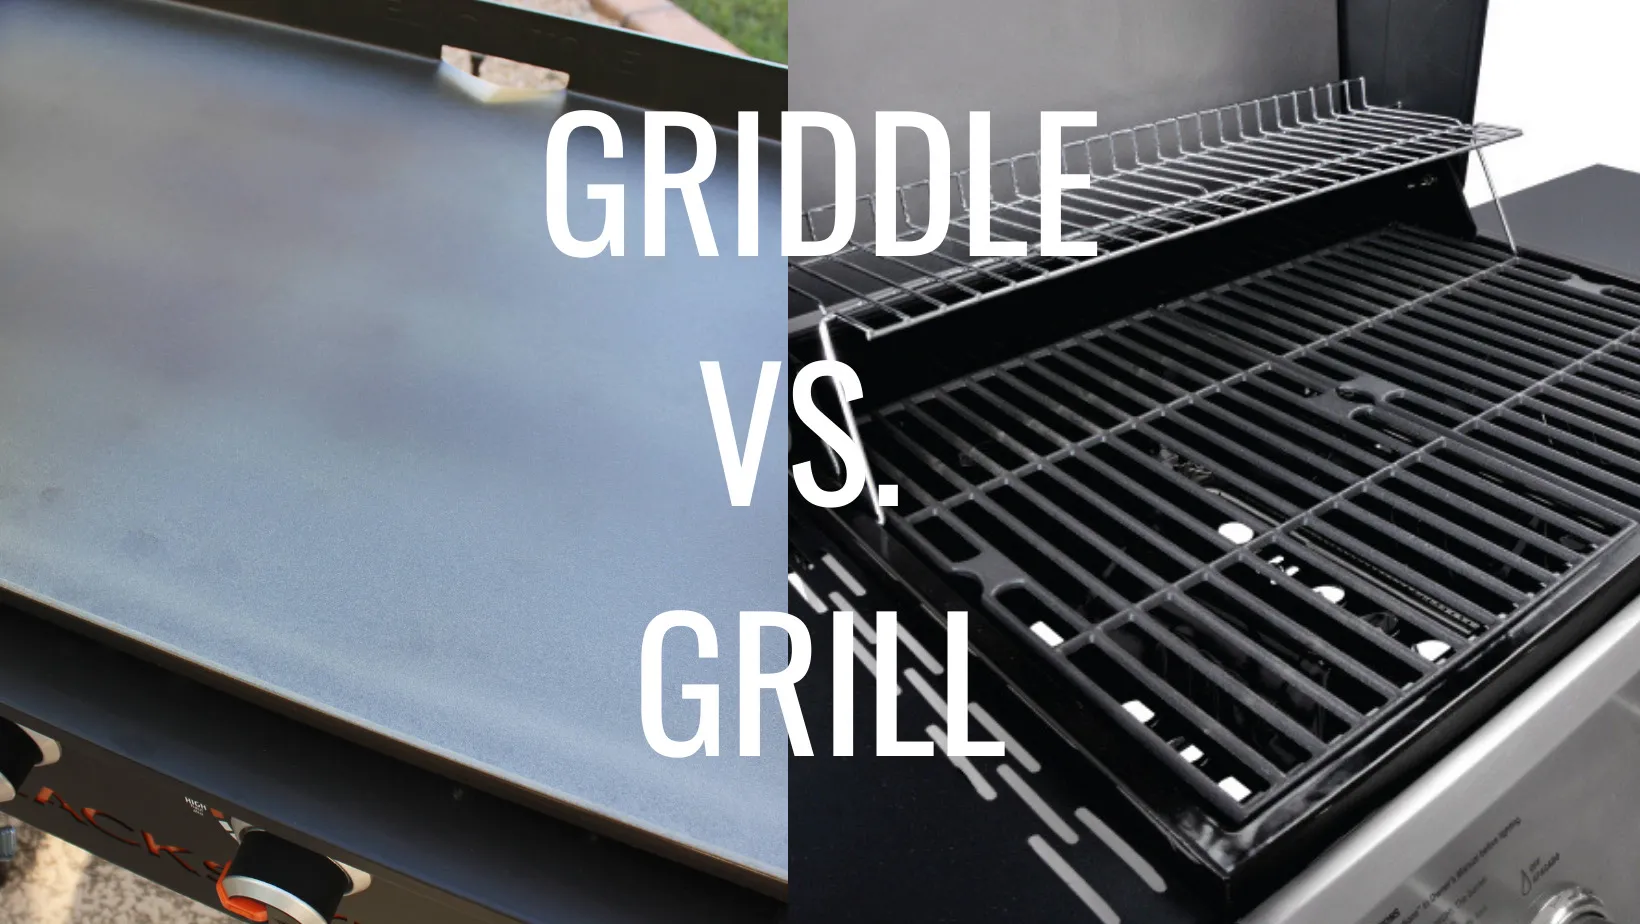
Griddle vs Grill: Which Should You Get?
Griddle vs grill: the real differences, which is healthier, whether a griddle is worth it if you already own a grill, and which wins for steaks and burgers.
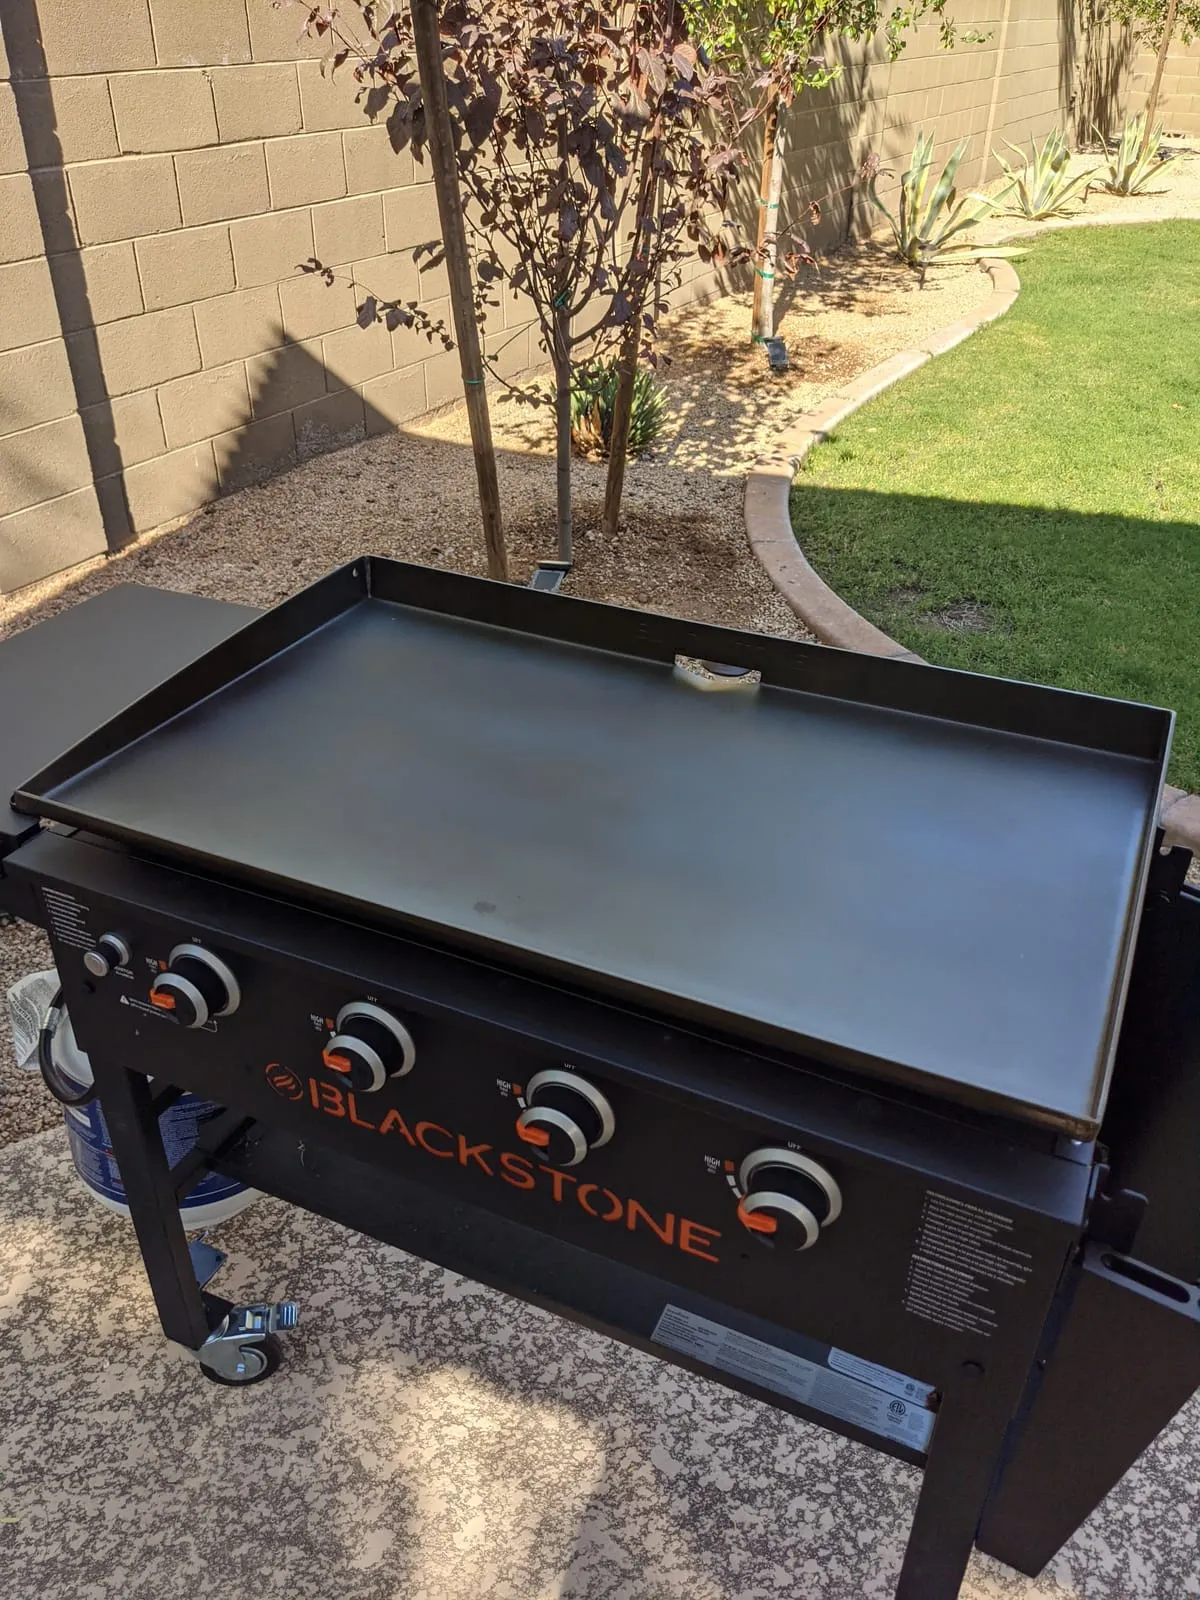
Why Is Everyone Selling Their Blackstone? An Honest Answer
Why is everyone selling their Blackstone? Mostly, they aren't. Here's the honest story, plus the real cons, lifespan, the Walmart price, and if it's worth it.