
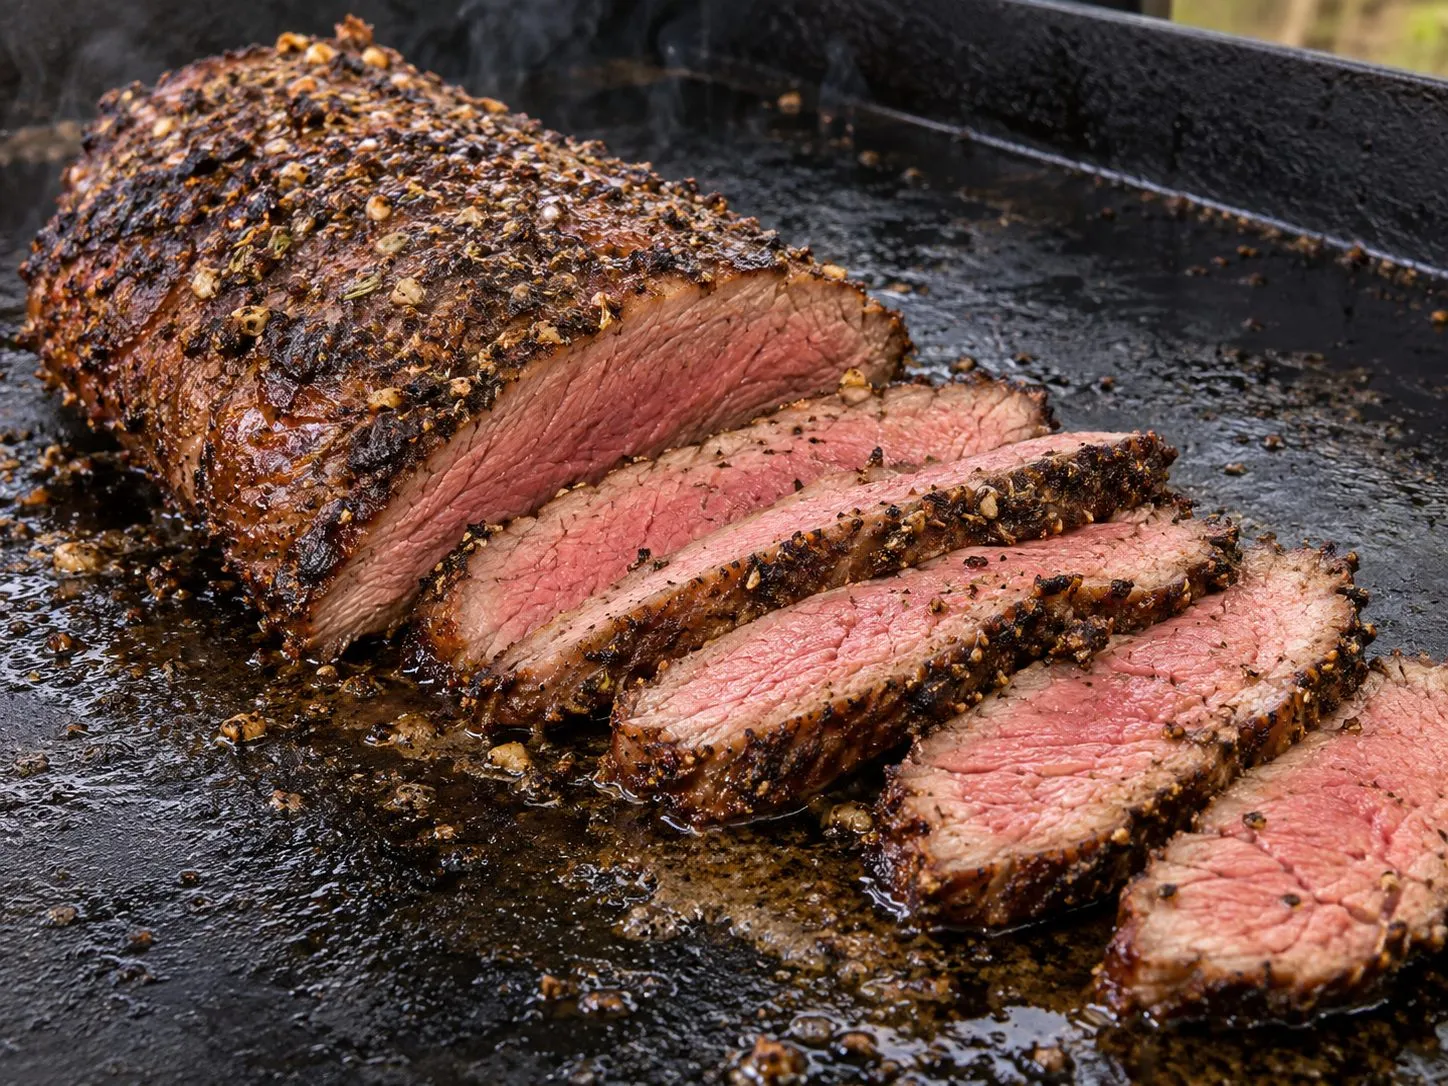
Blackstone Tri-Tip
Tri-tip isn’t a steak, it’s a small roast, and treating it like one is what separates a good result from a dry one. It also does something no other cut on this site does: the grain runs in two different directions across the same piece of meat, so slicing it right takes an extra step most people skip. This recipe covers both, the two-zone reverse sear a roast-shaped cut needs, and the two-way slice that actually makes it tender.
Ingredients
Tri-Tip:
- 1 tri-tip roast (2-2.5 lbs), fat cap trimmed to 1/4 inch
- 1 tbsp kosher salt
- 1 tbsp coarse black pepper
- 2 tsp garlic powder
- 1 tsp onion powder
- 1 tsp dried rosemary, crushed
- 2 tbsp avocado oil
Finishing Butter:
- 3 tbsp butter
- 2 cloves garlic, smashed
- 2 sprigs fresh rosemary
Instructions
Step 1: Season Combine the salt, pepper, garlic powder, onion powder, and rosemary. Rub it into all sides of the tri-tip. Let it sit at room temperature 30-45 minutes, this is a thicker piece of meat than a steak, and it needs the extra time for the seasoning to work and the center to stop being cold.
Step 2: Set up two zones Set one burner to low (250-275°F) and preheat another zone on high (450-500°F, you won’t need it yet). This is the same two-zone approach fajitas use, just for a single roast instead of a protein and a vegetable.
Step 3: Slow zone first Place the tri-tip fat-side up on the low zone. Tent loosely with foil or close the hood if you have one. Cook 30-40 minutes, flipping once halfway through, until an instant-read thermometer reads 110-115°F in the thickest part. This stage does the gentle work: bringing the whole roast up to temperature evenly before the crust stage.
Step 4: Rest briefly Move the tri-tip to a plate and tent it while the high zone finishes coming up to full heat, about 5 minutes.
Step 5: Hard sear Add the avocado oil to the hot zone. Sear the tri-tip 2-3 minutes per side until a deep brown crust forms on all sides. Add the butter, garlic, and rosemary in the last minute and spoon the melted butter over the roast.
Step 6: Rest Pull at 130°F internal for medium-rare (it will climb a few degrees more than a steak during rest, since it’s a bigger piece of meat). Rest 10 minutes, tented, before slicing.
Step 7: Slice in two directions Look at the surface of the roast: the muscle fibers run in one direction on the wider end and shift diagonally partway across. Cut the roast in half at that seam, then slice each half thin, against its own grain direction.
Why Tri-Tip Slices Differently Than Every Other Cut Here
Every other steak on this site (ribeye, strip, filet, skirt) has one grain direction running end to end, so the rule is simple: find the direction, cut across it. Tri-tip is a genuinely different shape of muscle. It’s actually two muscle sections that meet in the middle at roughly a 45-degree angle, which means a single straight slicing direction is wrong for at least half the roast.
Skip the seam and slice straight through in one direction, and half the tri-tip comes out tender while the other half is chewy no matter how well it was cooked. Finding the seam takes a few extra seconds of looking at the meat before the knife comes out, but it’s the difference between a tri-tip that’s tender edge to edge and one that’s only tender on one end.
Tips
Don’t skip the low zone. A tri-tip seared hot from raw either burns on the outside before the inside catches up, or gets pulled early with a cold, undercooked center. The low zone first is what makes the hard sear at the end actually work.
Trim, don’t strip, the fat cap. A quarter inch of fat renders down and bastes the roast as it cooks. Trimmed completely bare, tri-tip is lean enough to dry out; left too thick, it insulates the meat from the sear.
Find the seam before you slice. Look for where the fibers visibly change direction, usually about two-thirds of the way across the roast. Cut there first, then slice each piece separately against its own grain.
Use a thermometer for both stages. The low zone target (110-115°F) and the final pull temp (130°F) both matter. Guessing by time alone on a roast this size is how you end up over or under.
What to Serve With It
Blackstone baked potatoes or Blackstone elotes both fit the Santa Maria-style roots of this dish, and both can cook on the second zone while the tri-tip rests.
Storage
Refrigerate leftovers in an airtight container up to 4 days. Reheat gently in a low oven (275°F) or a covered skillet with a splash of broth, high heat will push already-cooked tri-tip past medium fast since there’s little fat left to protect it.
More flat-top recipes: Best Blackstone Steak Recipes · Blackstone Steak · Blackstone Dinner Ideas
Frequently Asked Questions
What is tri-tip and where does it come from?
Tri-tip is a triangular roast cut from the bottom sirloin. It was popularized in Santa Maria, California, where it’s traditionally seasoned simply with salt, pepper, and garlic and cooked over red oak. It’s leaner than ribeye but has enough structure to hold up to a hard sear.
Can you reverse sear on a Blackstone griddle without an oven?
Yes. Set one burner low (250-275°F) and another high (450-500°F). Cook the roast on the low zone until it’s most of the way to temperature, then move it to the hot zone for the final crust-building sear. It’s the same two-zone principle the griddle already uses for fajitas, just applied to one larger piece of meat.
Why does tri-tip need to be sliced in two directions?
Because it isn’t one continuous muscle running the same direction end to end, it’s two sections that meet at roughly a 45-degree seam. Slicing straight through in one direction cuts with the grain on one half of the roast, which comes out chewy regardless of how well it was cooked. Cutting the roast in half at the seam first lets you slice each half correctly against its own grain.
What temperature should tri-tip be pulled at?
130°F internal for medium-rare, after the final hard sear. During the earlier low-zone stage, pull it at 110-115°F before moving it to the hot zone, that’s not the finish temperature, just the point where it’s ready for the sear.
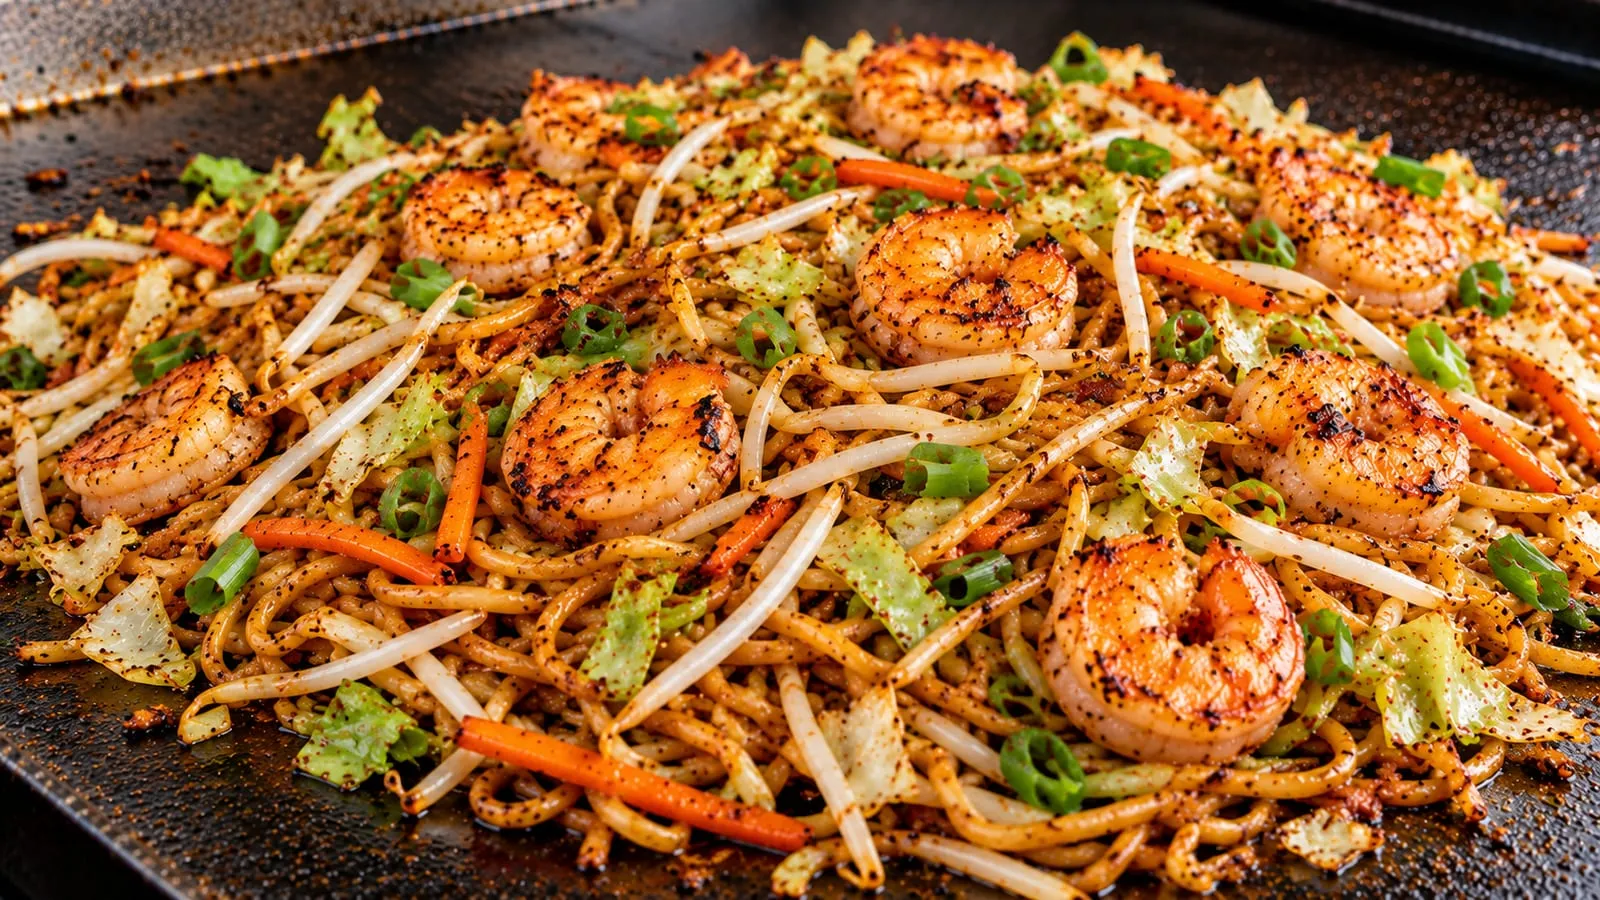
Blackstone Shrimp Chow Mein
Shrimp chow mein on a Blackstone griddle: noodles crisped flat on hot steel, seared shrimp, cabbage, carrots, and bean sprouts in a light soy and oyster sauce.
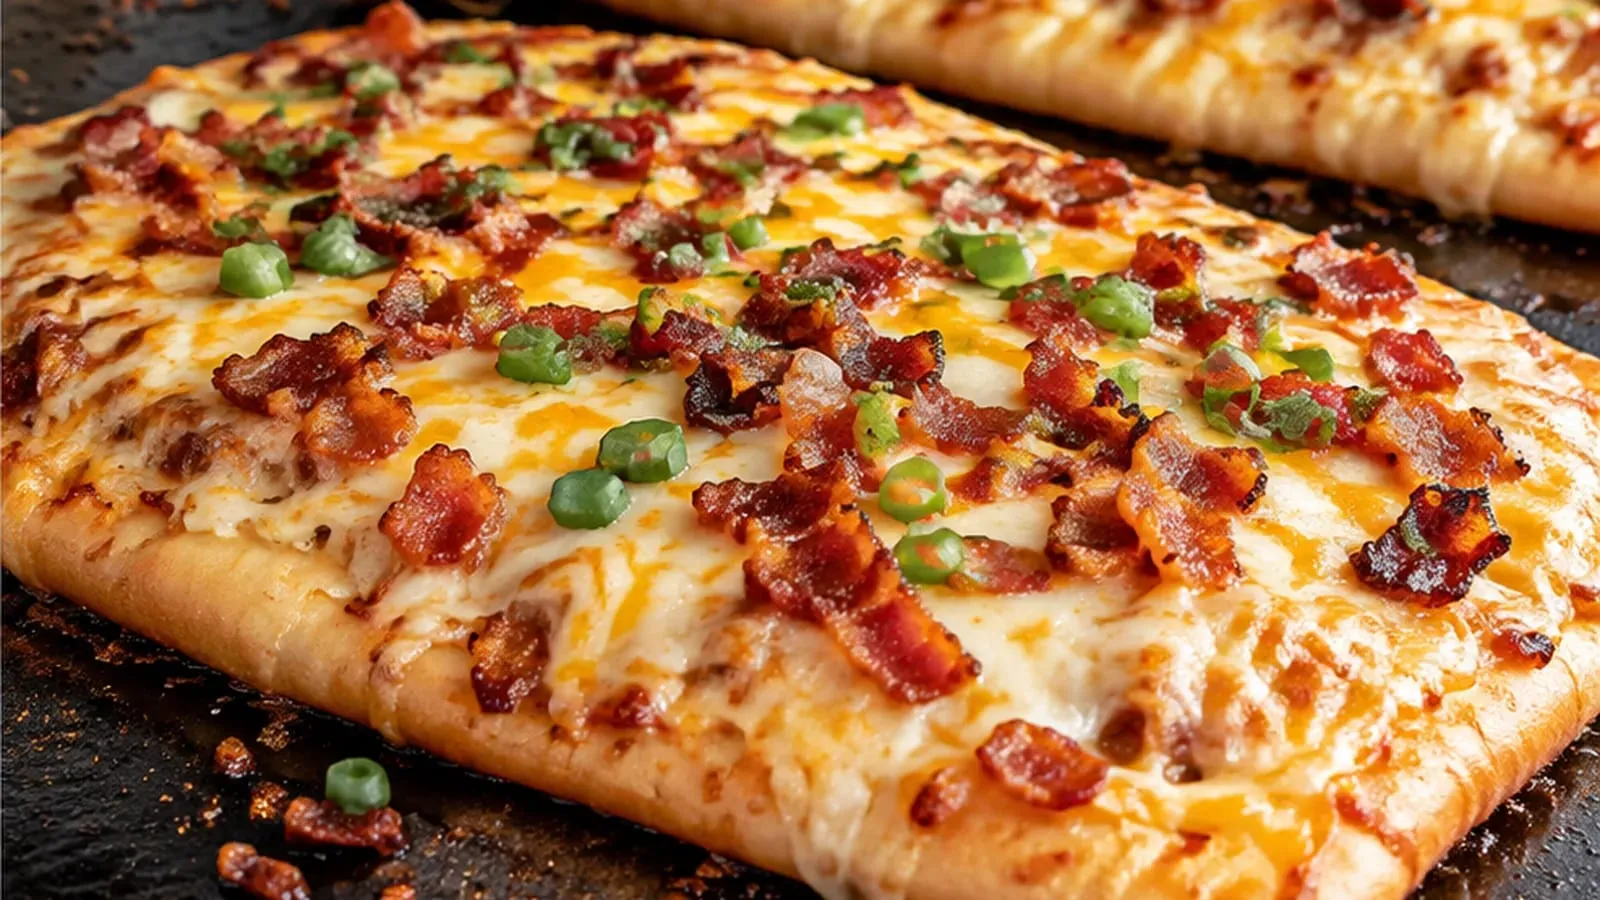
Blackstone Cheesy Bacon Flatbread
Cheesy bacon flatbread on a Blackstone griddle: store-bought naan crisped in rendered bacon fat, brushed with garlic butter, and topped with mozzarella, parmesan, and crumbled bacon.
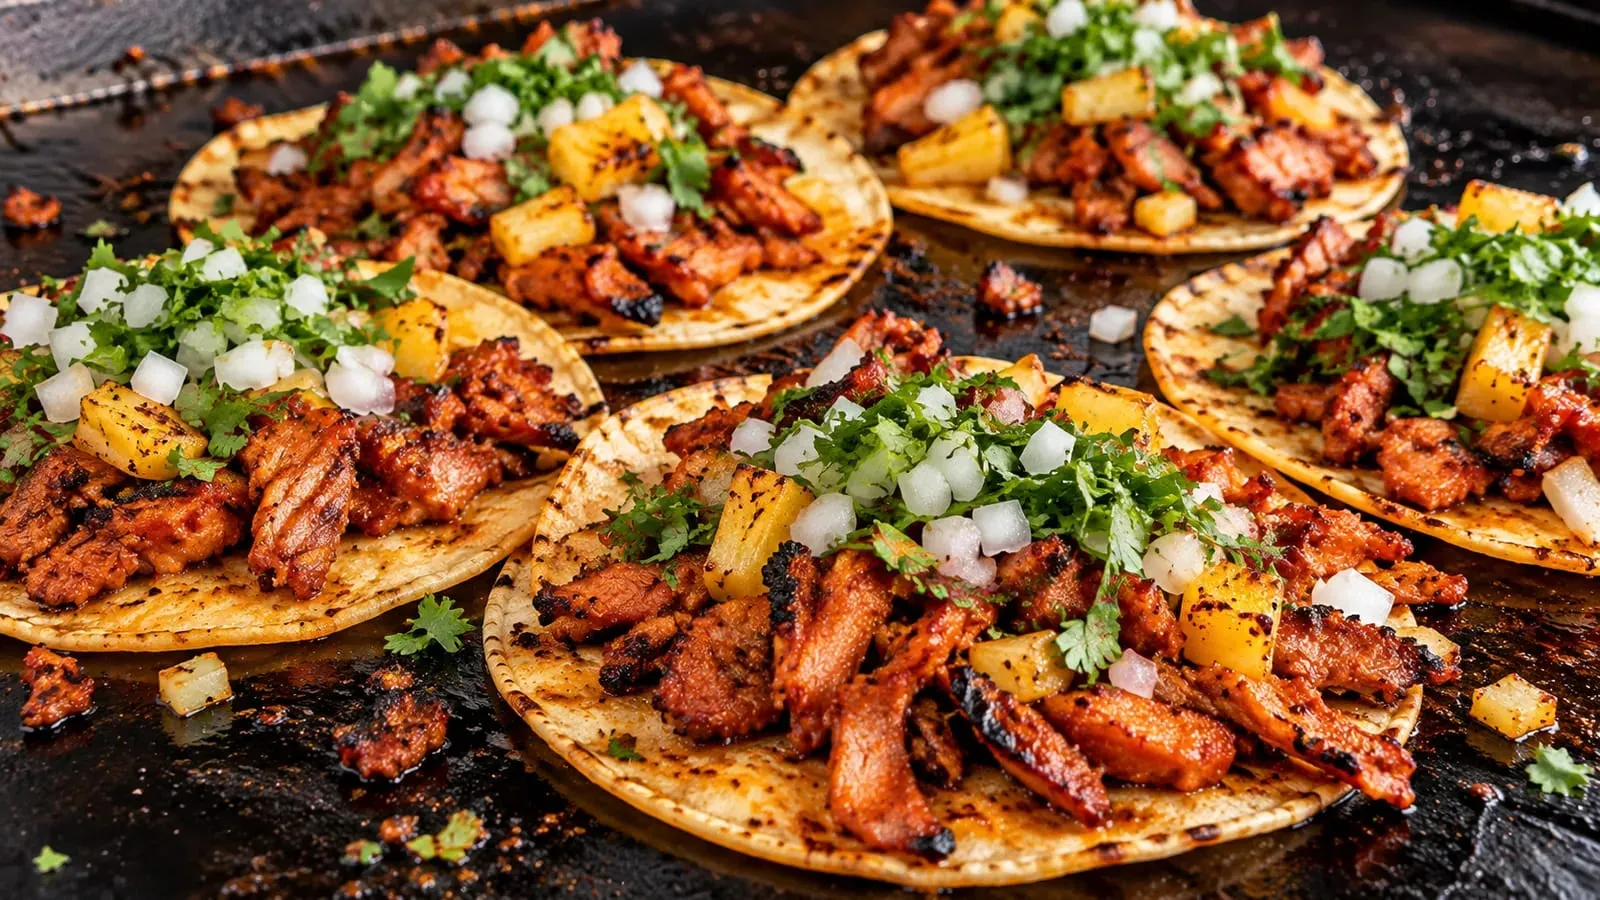
Blackstone Tacos al Pastor
Tacos al pastor on a Blackstone griddle: thin-sliced pork shoulder in a guajillo, ancho, and achiote marinade, seared hard on the flat top and served with charred pineapple.