
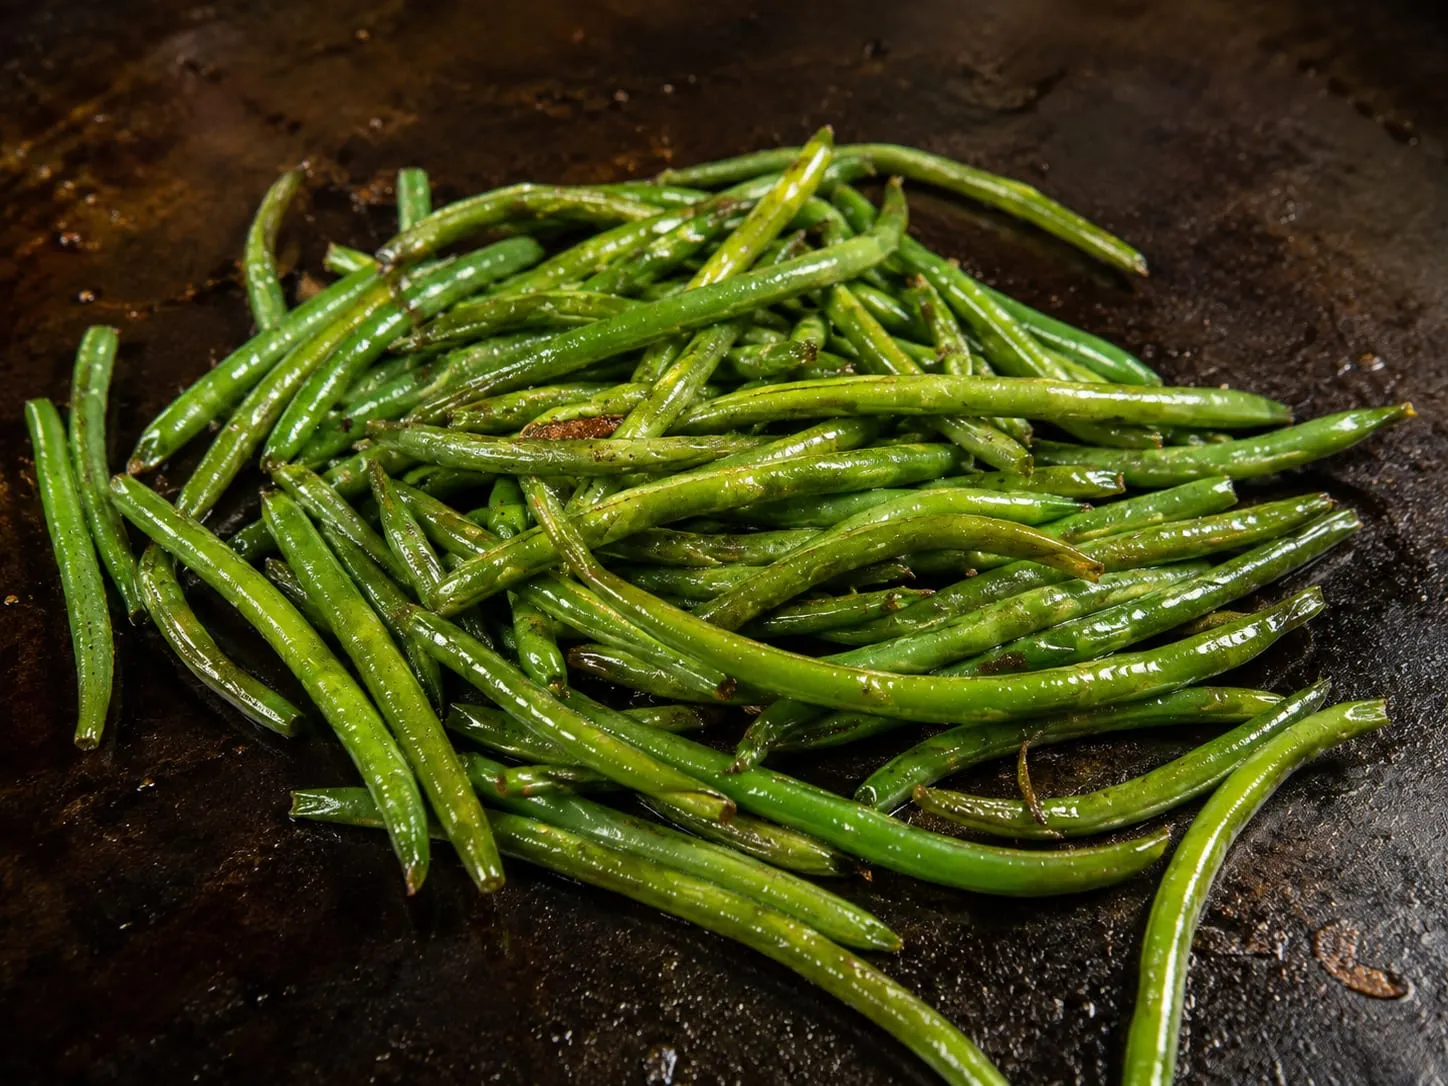
Green Beans on Blackstone: Blistered and Crisp-Tender
Equipment
Green beans on a flat-top come out blistered and crisp-tender in about 10 minutes, with charred skins you cannot get from a pot of boiling water. The hot steel sears the outside fast, and a quick minute under a dome finishes the centers so they snap instead of squeak. It is the side dish I reach for most when the griddle is already hot from a protein.
One base method below, then three variations that all cook the same way: garlic butter, soy-garlic, and bacon.
Prep: Trim and Dry
Trim the stem ends. Line up a handful so the tough stem ends are even and cut them off in one pass. The wispy tail end is tender, so you can leave it on or trim it for a tidier look. It does not affect the cook.
Dry them well. This is the step that decides whether you get blister or steam. Green beans hold water in their skins, and a wet bean releases that water onto the steel and steams instead of searing. Pat them dry with a towel after washing, or wash them well ahead and let them air-dry in a colander.
Method: Garlic Butter Green Beans
Ingredients
- 1 lb fresh green beans, ends trimmed
- 2 tbsp avocado oil or other high smoke point oil
- 3 cloves garlic, minced
- 2 tbsp unsalted butter
- ½ tsp kosher salt
- ¼ tsp black pepper
- Red pepper flakes (optional)
Instructions
Step 1: Preheat. Set the Blackstone to medium-high, about 400°F. Toss the dry green beans with the oil and pepper. Hold the salt until the end.
Step 2: Spread and sear. Lay the beans in a single layer with a little space between them. Cook without moving for 2 to 3 minutes, until the down sides blister and pick up dark spots.
Step 3: Toss and blister. Toss and spread them again. Cook another 3 to 4 minutes, tossing every minute or so, until they are blistered in spots all over and starting to wrinkle.
Step 4: Dome to finish. Cover the beans with a basting dome or a metal bowl and cook 1 to 2 minutes. The trapped steam finishes the centers to crisp-tender without losing the char. This is the same dome trick that finishes broccoli florets.
Step 5: Garlic and butter. Lift the dome, push the beans together, and add the garlic and butter right on top. Toss for 60 to 90 seconds until the garlic is fragrant and the butter coats everything. Do not let the garlic sit on the bare steel or it burns.
Step 6: Salt and serve. Season with the salt and the red pepper flakes if using. Slide off the griddle and serve right away.
Total cook time: 8 to 10 minutes for standard beans.
Variation 1: Soy-Garlic Blistered Green Beans
Skip the butter. In the last minute, add the garlic plus 1 tablespoon soy sauce and 1 teaspoon toasted sesame oil, and toss until the liquid cooks down and glazes the beans. A pinch of sugar rounds it out. This is the blistered-green-bean version you get at a Chinese restaurant, and it belongs next to fried rice on an Asian night.
Variation 2: Bacon Green Beans
Cook 3 strips of chopped bacon on the griddle first. When it is crisp, scoop it out and cook the beans in the rendered fat instead of oil, following the same steps. Fold the bacon back in at the end with the garlic. Skip the added butter, the bacon fat carries the flavor.
Variation 3: Lemon Almond Green Beans
Follow the base garlic butter method. At the end, squeeze half a lemon over the beans on the griddle and toss in 2 tablespoons of sliced almonds that you toasted dry on a cool zone for a minute. It is the griddle take on green beans amandine, bright and a little crunchy.
Tips
Dry beans blister, wet beans steam. A quick pat with a towel is the difference between spotty char and a limp, gray pile.
Do not crowd the surface. Beans packed together trap their own steam and never blister. Give them a single layer with space, and cook in two rounds if your zone is small.
High heat is correct. Like asparagus, green beans want a hot surface. At 400°F they blister before they overcook. Lower heat just softens them into something dull.
Salt at the end. Salt pulls water out of the beans, and water is the enemy of the sear. Toss with oil and pepper going on, salt coming off.
Storage and Leftovers
Cooked green beans keep 3 to 4 days in the fridge. They reheat best in about a minute on a hot griddle zone, which crisps the skins back up. The microwave takes them straight to soft. Cold, they are good chopped into a grain bowl or a salad the next day.
More flat-top recipes: Blackstone Side Dishes · Blackstone Dinner Ideas · Brussels Sprouts
Frequently Asked Questions
What temperature do you cook green beans on a Blackstone?
Medium-high, about 400°F. Green beans need high heat to blister the skins before the insides overcook. At lower temperatures they steam and turn soft and dull instead of picking up char.
How long do green beans take on a Blackstone?
About 8 to 10 minutes. Blister them for 6 to 7 minutes over medium-high heat, tossing to spot the skins all over, then dome them for 1 to 2 minutes to finish the centers to crisp-tender.
Do you have to boil or blanch green beans first?
No. Fresh green beans cook through on the griddle in about 10 minutes with no blanching. The dome step near the end steams the centers tender while the outside stays blistered, so there is no reason to dirty a pot.
Why are my griddle green beans soggy instead of blistered?
Two usual causes: the beans went on wet, or the surface was crowded. Water in the skins or packed-together beans both trap steam and stop the sear. Dry the beans well, spread them in a single layer, and keep the heat up.
Can you cook frozen green beans on a Blackstone?
Yes, but do not thaw them. Put them on the hot, oiled steel straight from the freezer and expect an extra few minutes while the ice cooks off. They will never blister quite as hard as fresh, so keep them moving and let the surface stay dry between tosses.
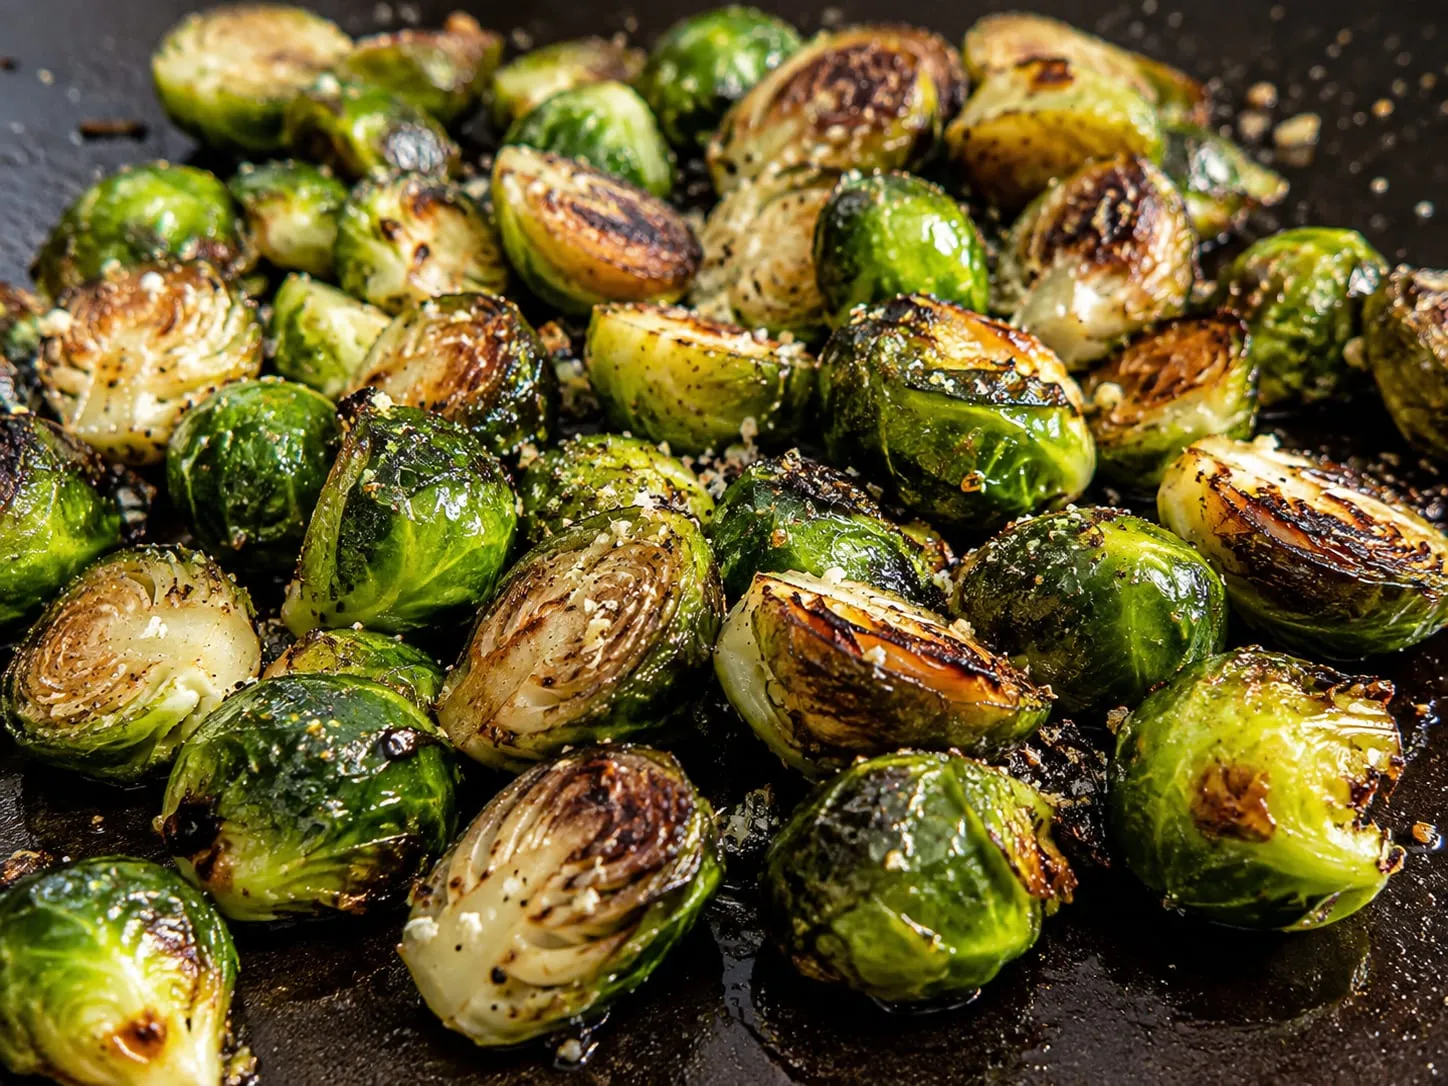
Brussels Sprouts on Blackstone: Smashed and Caramelized
How to cook Brussels sprouts on a Blackstone griddle: halved and cut-side seared until deeply caramelized, with balsamic, bacon, and garlic parmesan variations.
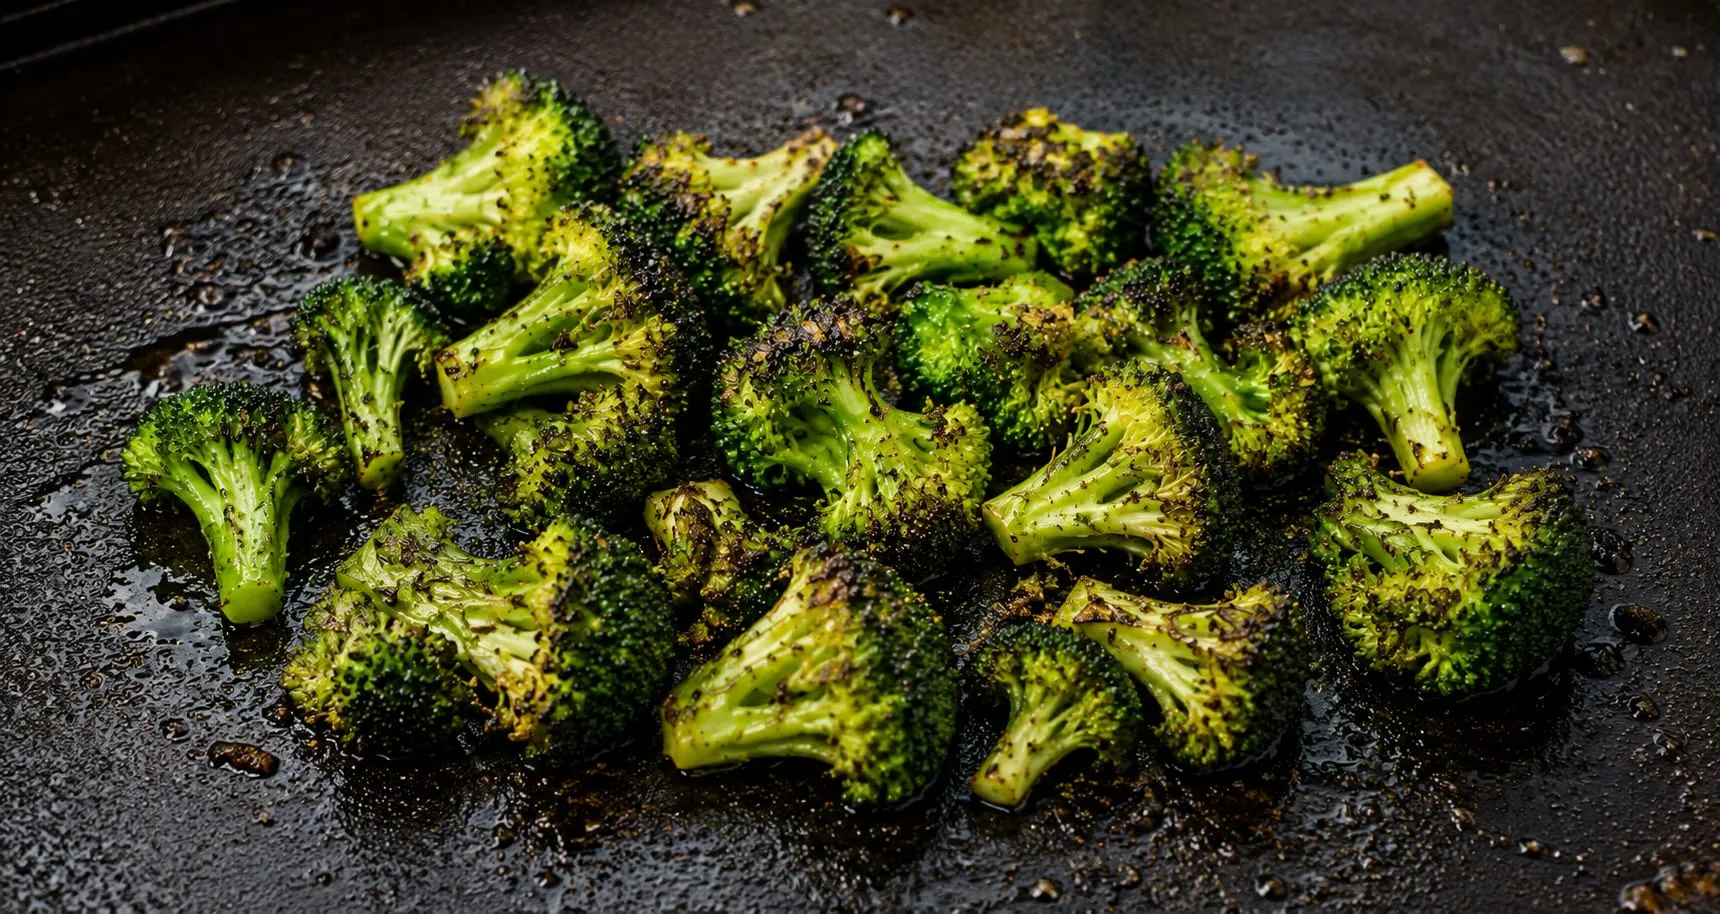
Blackstone Broccoli: Charred Florets, Tender Center
How to cook broccoli on a Blackstone griddle: high heat, the dome trick, and four seasoning variations. A 10-minute side that goes with anything.
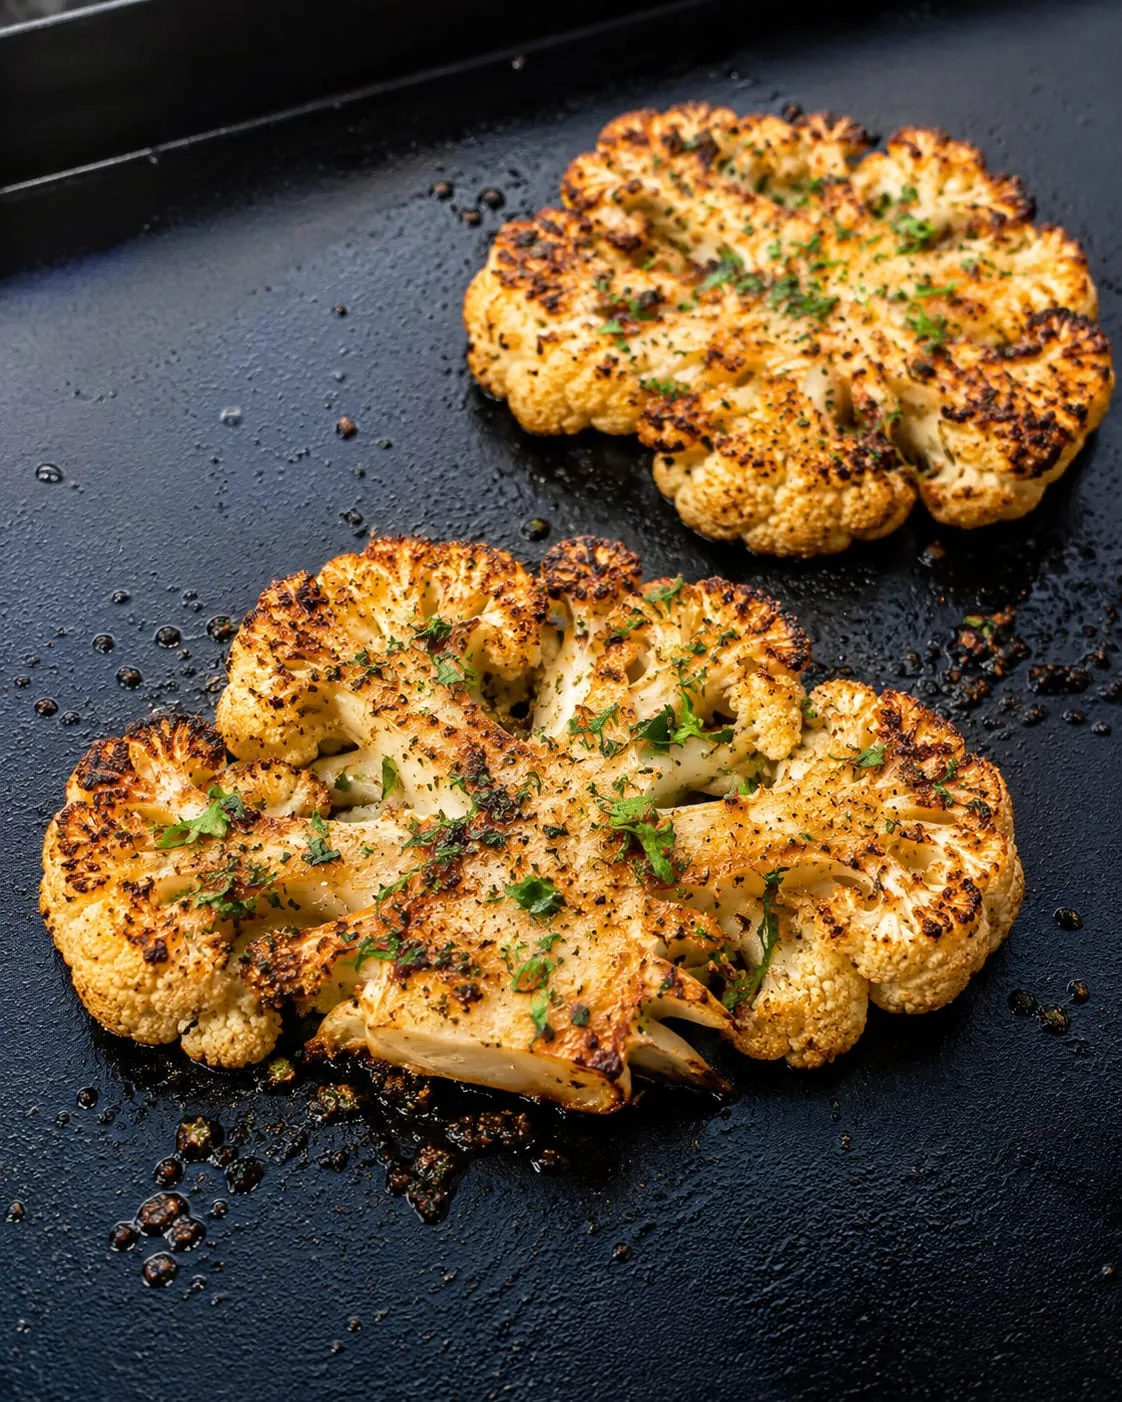
Blackstone Cauliflower: Charred Steaks and Crispy Florets
How to cook cauliflower on a Blackstone griddle: cauliflower steaks with a deep golden crust, plus crispy florets. Low-carb, keto-friendly, and ready in 15 minutes.